My 6-Bay ZimaBoard NAS Build
I started planning this build because I wanted a 4–6 bay x86 NAS that fitted into 1U of 10-inch rack space.
I started planning this build because I wanted a 4–6 bay x86 NAS that fitted into 1U of 10-inch rack space.
Constraints
- 4–6 drive bays
- Must fit inside 1U of 10-inch rack space
- Compute and drives must power on together
- x86 processor
- No soldering / PCB design
I wanted to use existing hardware where possible.
I already had a 12U DeskPi rack, and its internal depth (260 mm) was just enough to make this possible.
Compute Options I Considered
ZimaBoard 2
Pros
- Better thermal behaviour than a tiny SBC
- Dual NICs
- Low idle draw
- Already owned (Kickstarter)
- IO made power wiring a lot easier
Cons
- Larger footprint, meant 200 mm racks weren't feasible.
Radxa X4
Pros
- Very compact footprint → would enable a 200 mm deep design
Cons
- Wiring is awkward; probably requires soldering
- Documented heat issues
LattePanda Mu
Pros
- Extremely customisable via a carrier PCB
Cons
- Requires designing said PCB, which breaks my “no custom boards” constraint.
Outcome
I went with what I had: the ZimaBoard 2.
It’s thermally predictable, has easy IO for storage expansion, and was the most practical option based on my constraints
Drives & Drive Cage
I tested a couple 5.25" drive cages designed for 2.5" SSDs / HDDs:
- An OImaster 4-bay (around 170 mm deep) which was way too long for a 260mm build.
- I switched to an ICYDOCK 6-bay cage, which fits at around 146 mm deep.
For this project, any 5.25” drive cage with a depth around 146 mm should work.
I populated it with six small SSDs (256 GB each) for testing and will gradually upgrade them to 4–8 TB units over time. SSDs make this a lot easier. They're low heat, low vibration and have minimal inrush current. This is one of the reasons the power design works cleanly.
Power Architecture
Space constraints ruled out ATX/SFX PSUs so I split compute and storage rails but synchronised their power-up behaviour. This avoided the need for a custom power PCB which would have required modifying the ZimaBoard's internal headers.
ZimaBoard Power (Compute)
- Powered directly from its 12 V DC barrel input
- Entirely isolated from storage power
Drive Cage Power (Storage)
- Powered by a PicoPSU DC-DC ATX power supply
- ~160 W unbranded clone
- (I cannot in good consequence suggest anyone buy a sketchy power supply, don't be like me)
Used to provide power to the drive cage alone
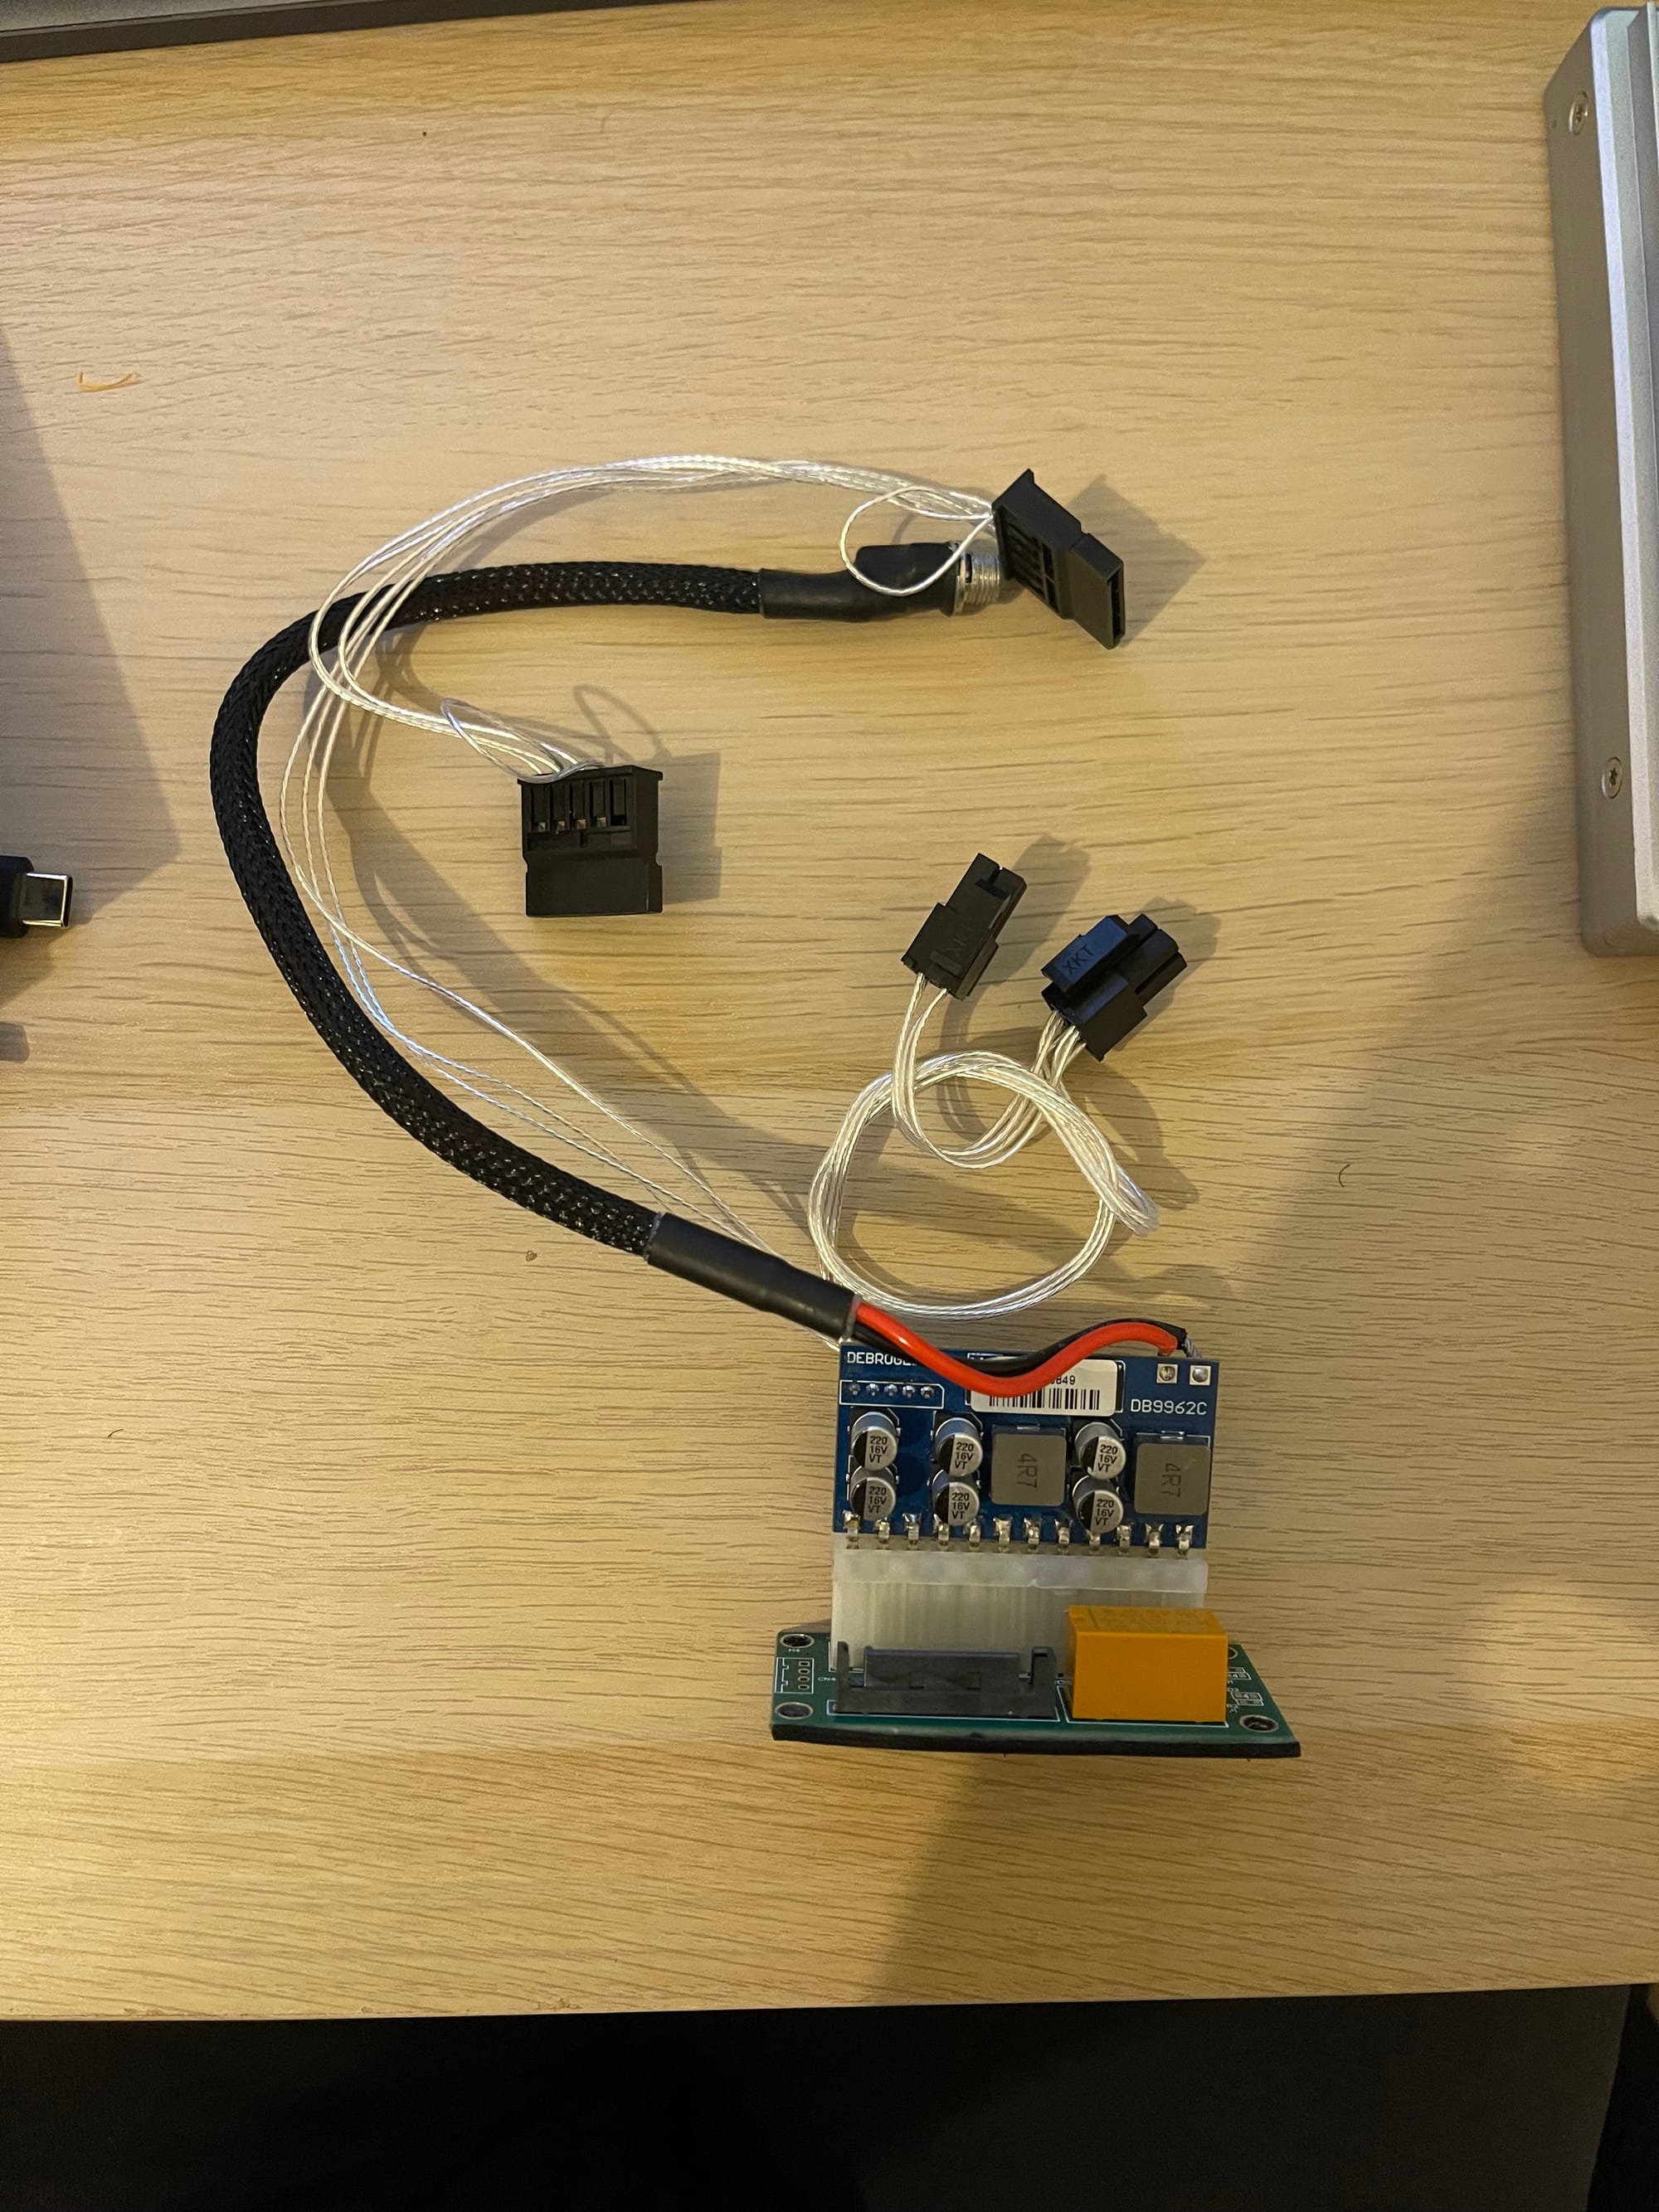
Synchronising Both Rails
I wanted single button power control despite having separate rails. In order to achieve this I used two components:
- a 5.5 × 2.5 mm DC splitter
- both the ZB2 and the PicoPSU use the same 12 V power supply
- an ADD2PSU with a SATA trigger:
- ZimaBoard’s 4-pin JST (normally for SATA power for HDDs) drives the trigger
- When the ZimaBoard turns on, the drive PSU follows
- When it shuts down, the drive cage powers down as well
This keeps rails separate electrically but linked logically.
Power supply & Headroom check
- 12 V, 12.5 A (150 W total) DC power supply
Worst-case scenario this setup pulls around 55 Watts (30 W for SSDs, 15 W for compute plus 10 W DC overheard). We have plenty of room.
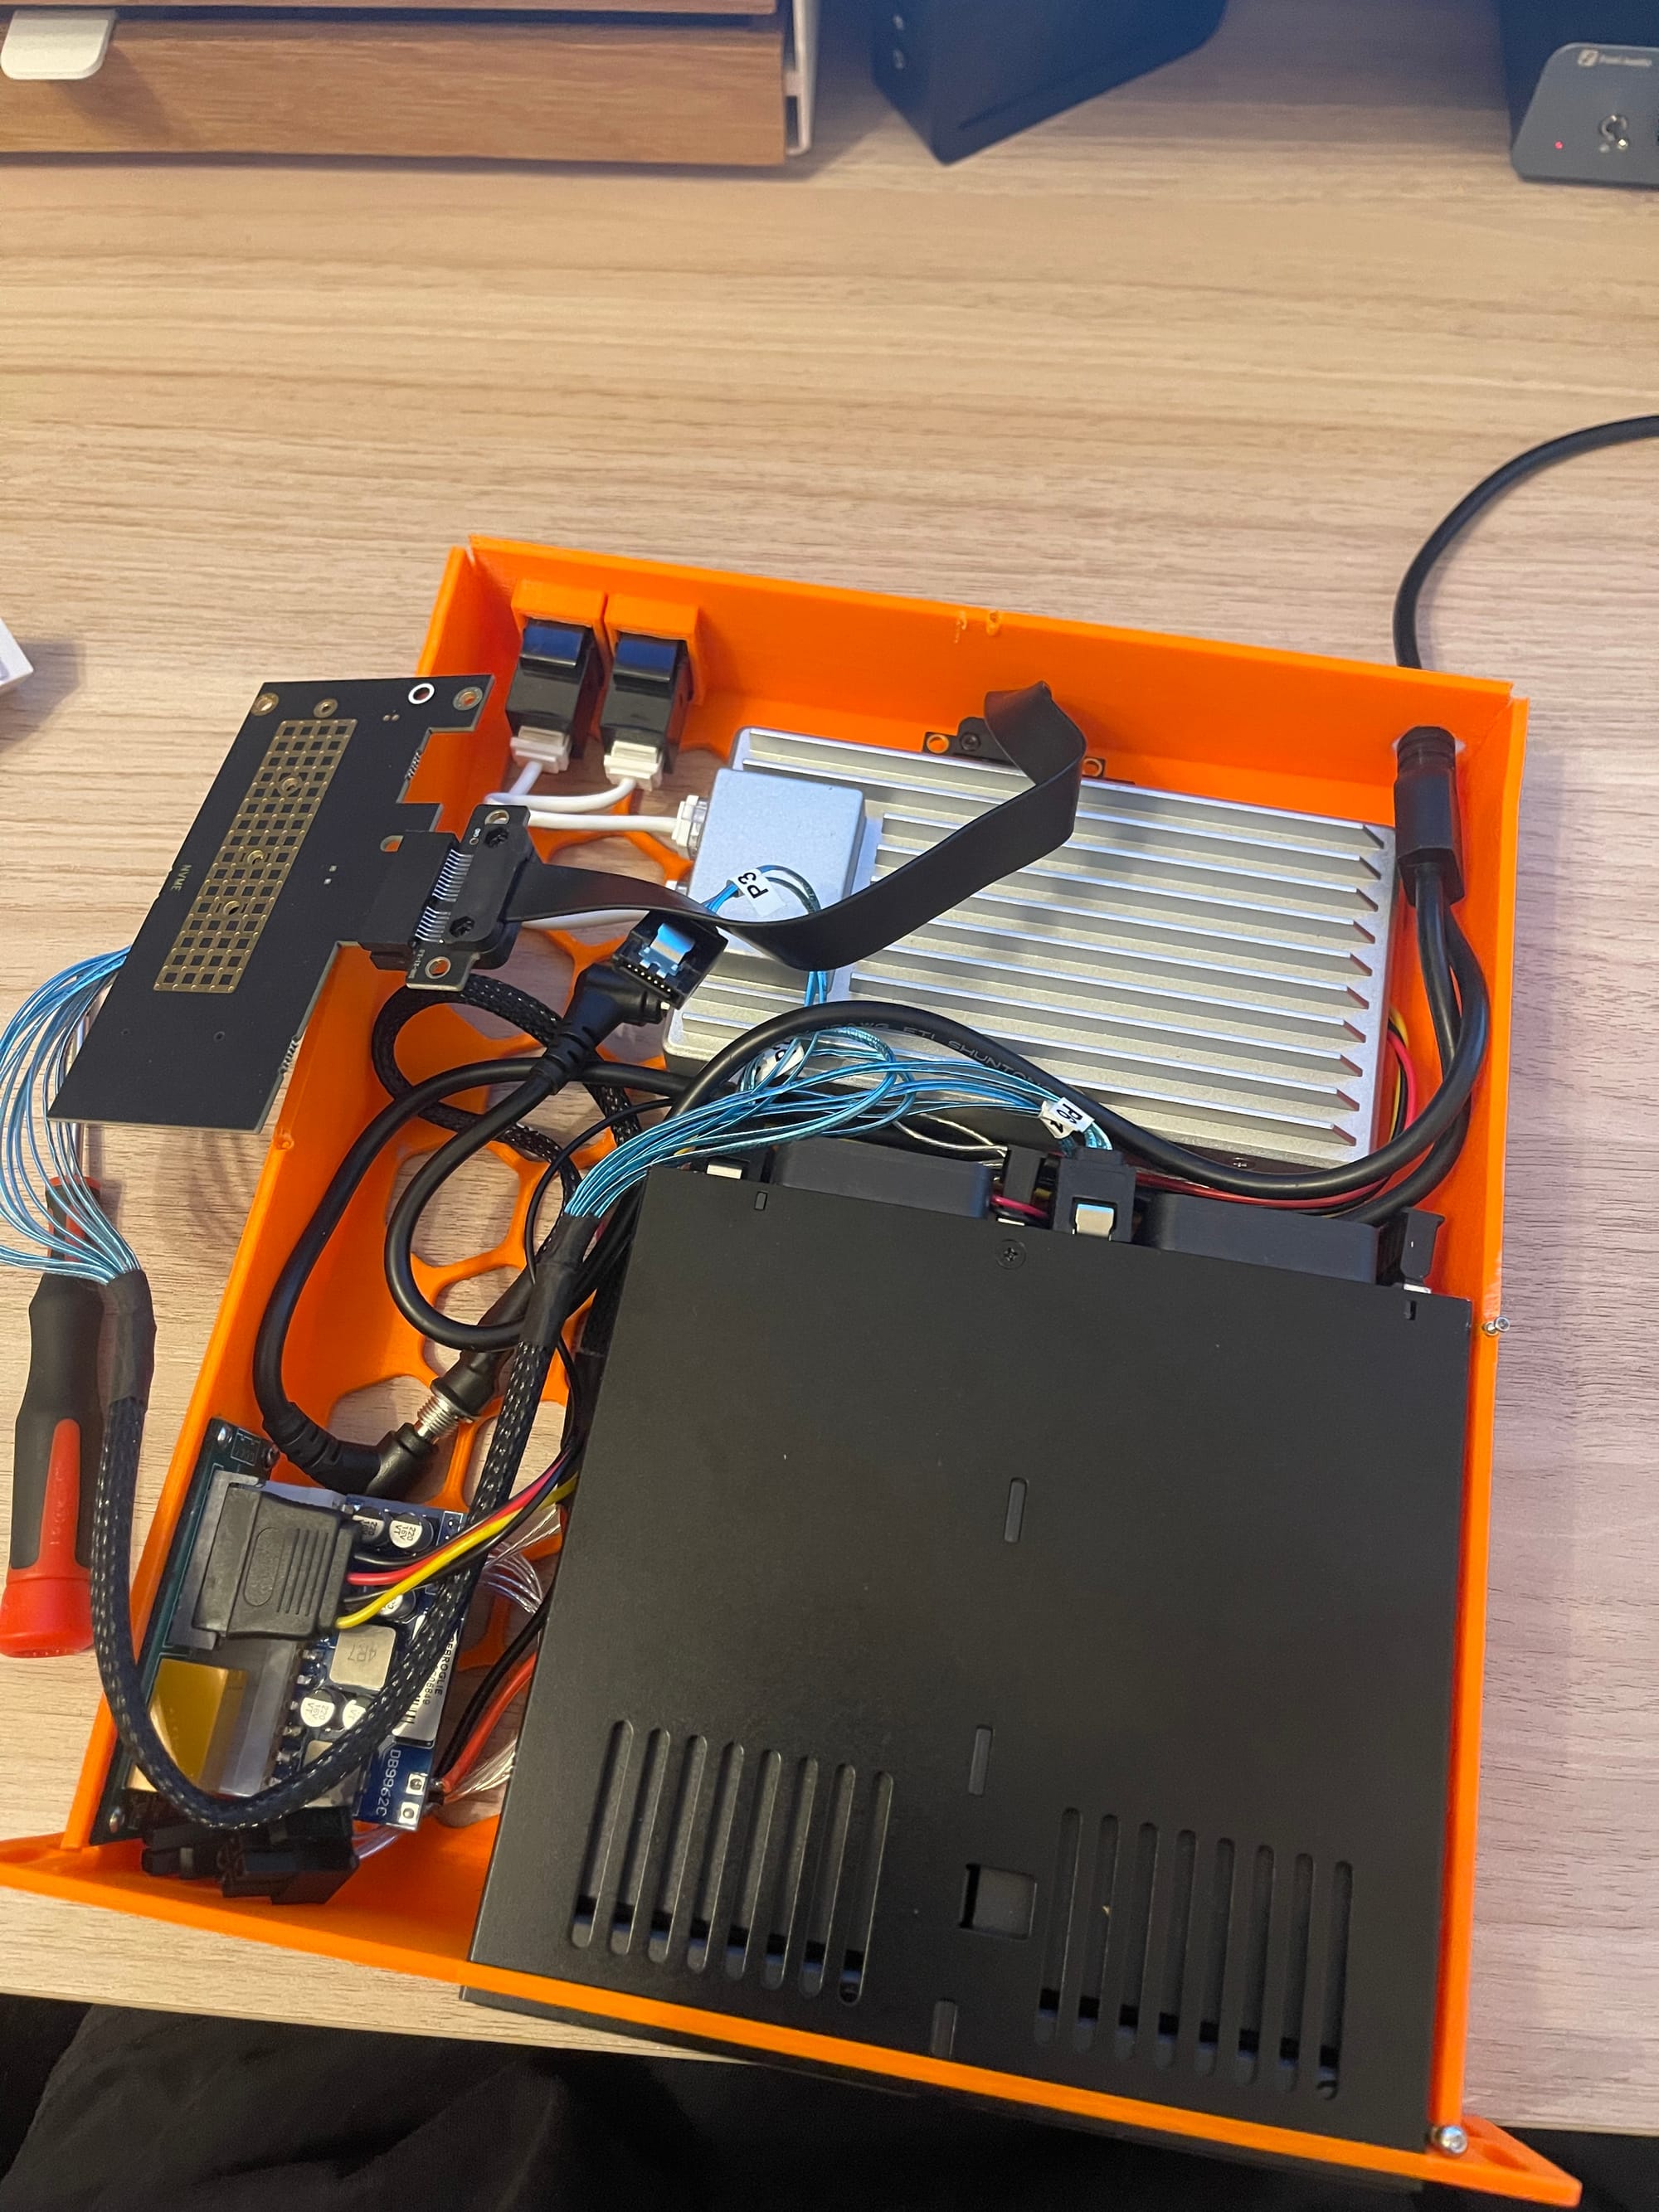
Connecting Storage
To get six SATA ports into the ZimaBoard I used:
- M.2 NVMe to PCIe x4 adapter
- PCIe riser (flex) to reposition the card in the space
- ASM1166 based 6-port SATA controller
The ASM1166 is well-supported in Linux and behaves reliably here.
Cable routing is tight in 1U, but manageable with right-angled SATA connectors.
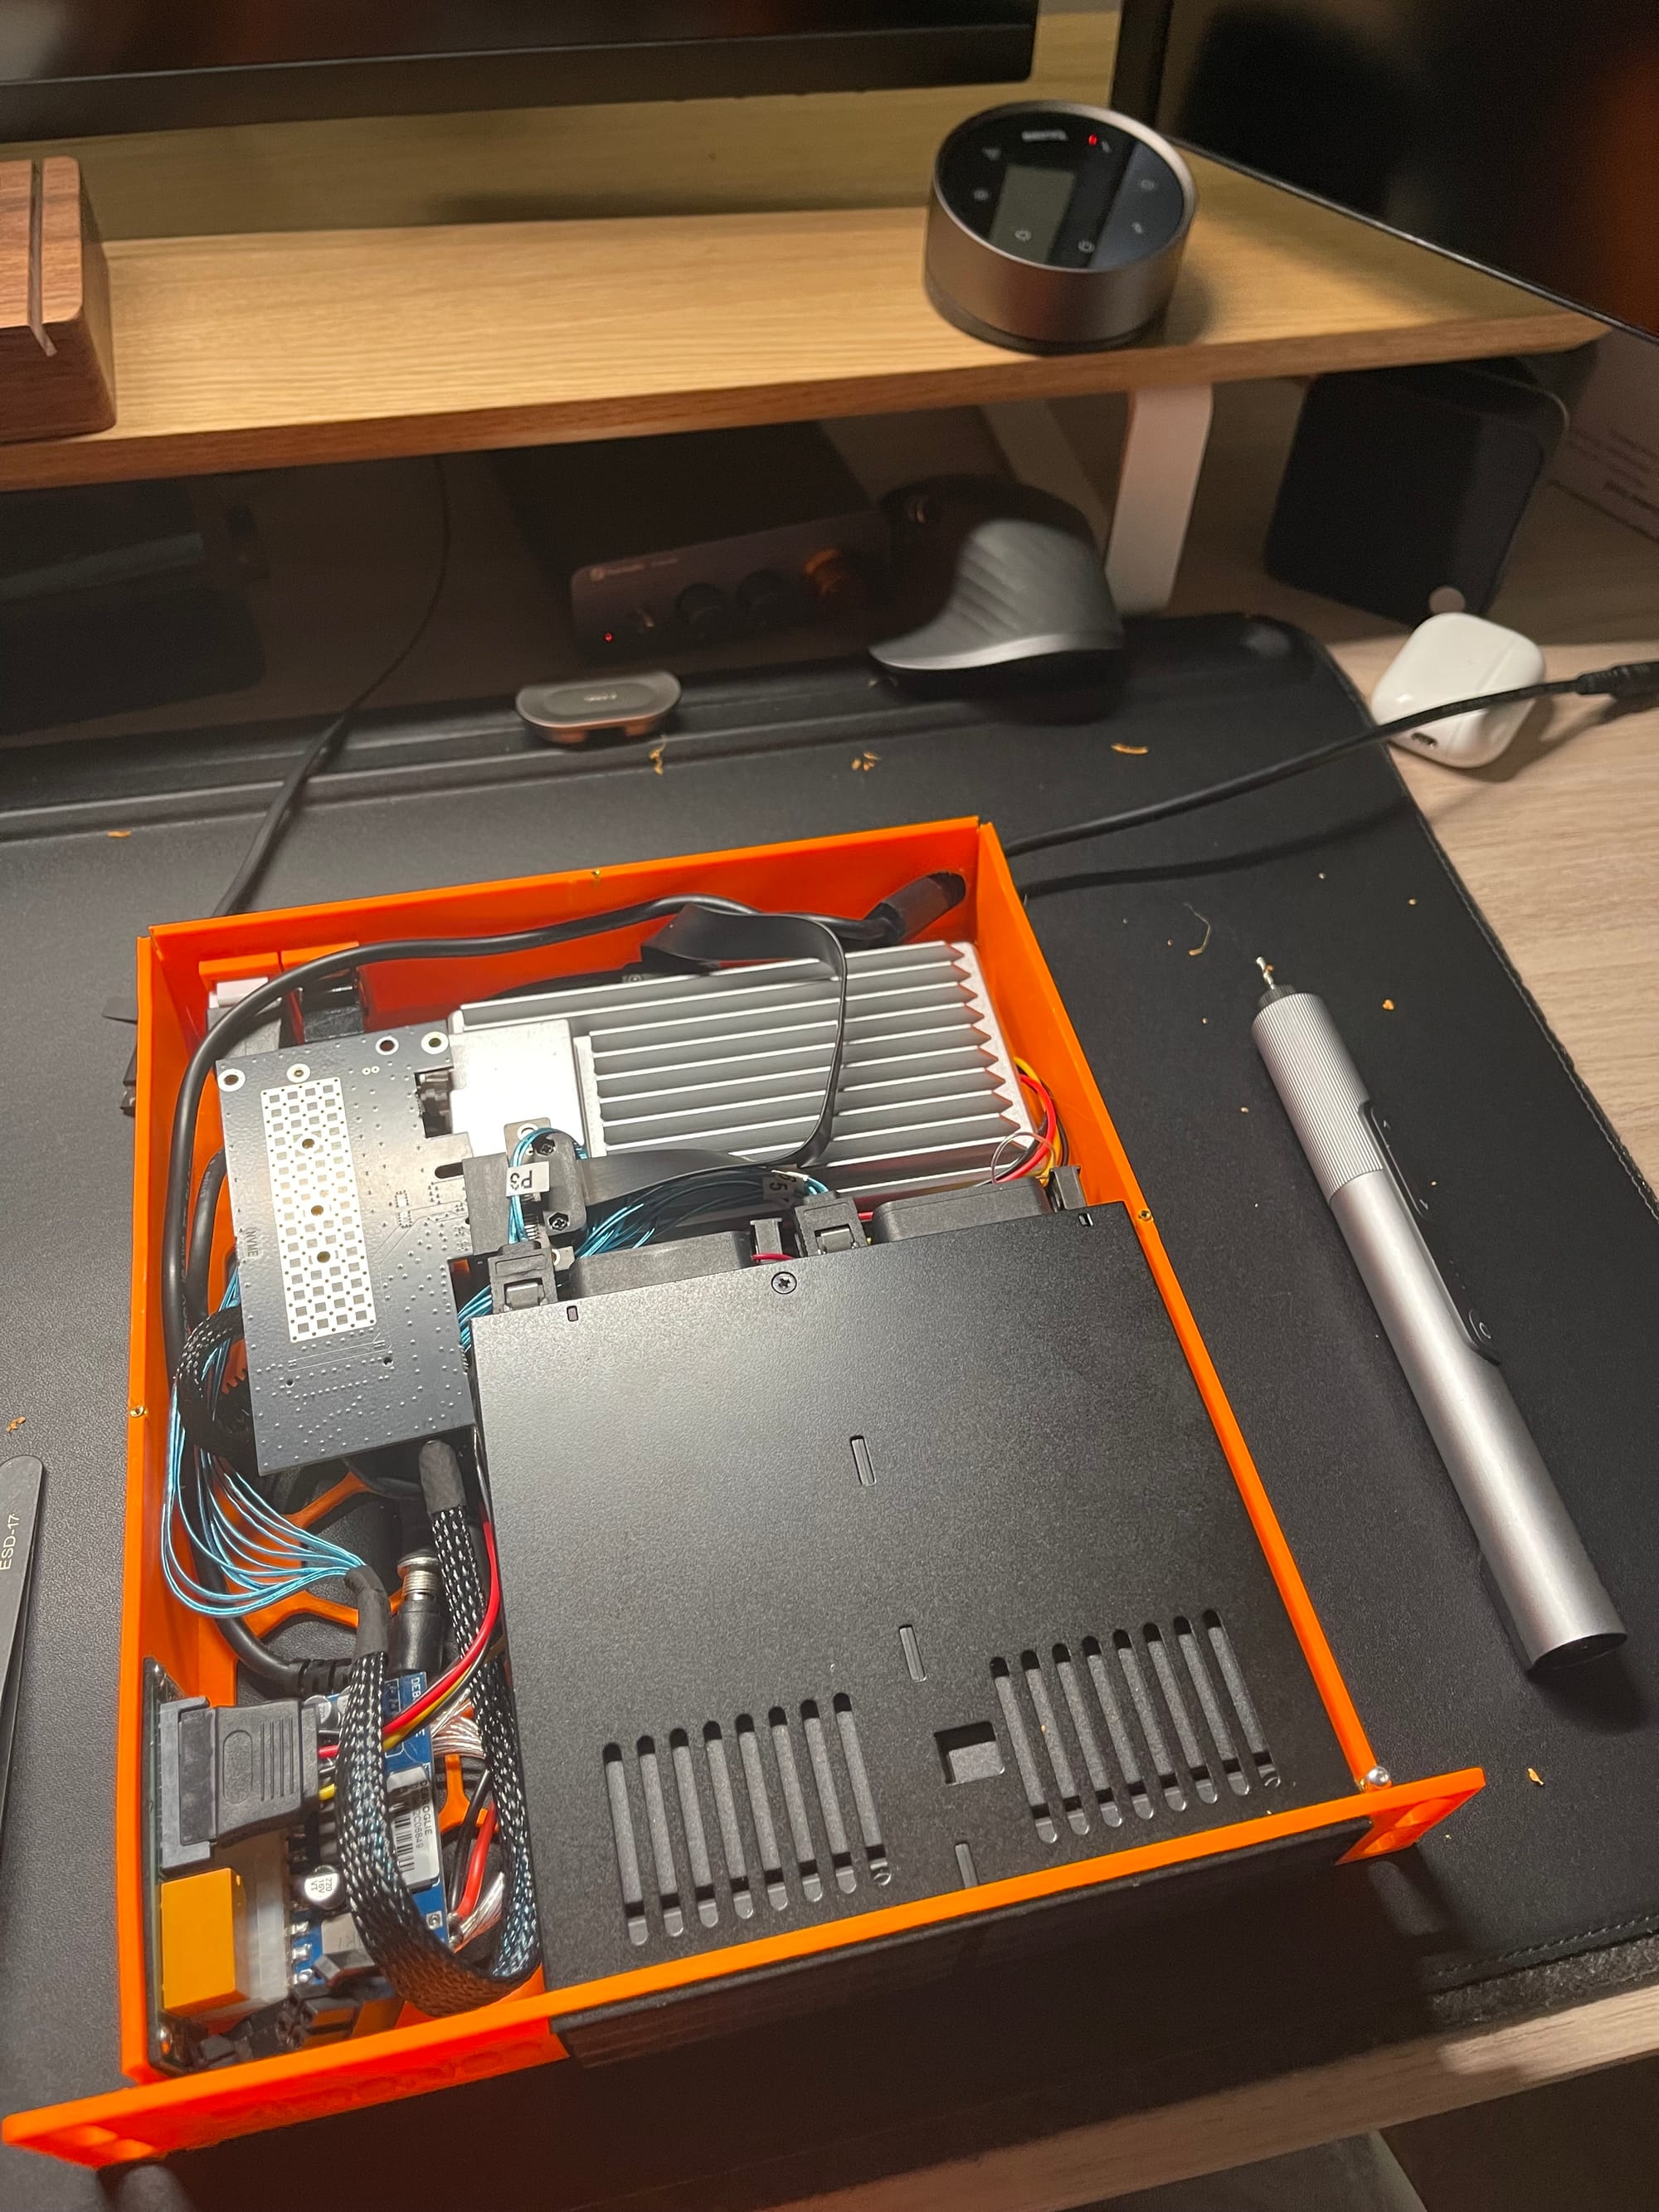
Assembly & Enclosure
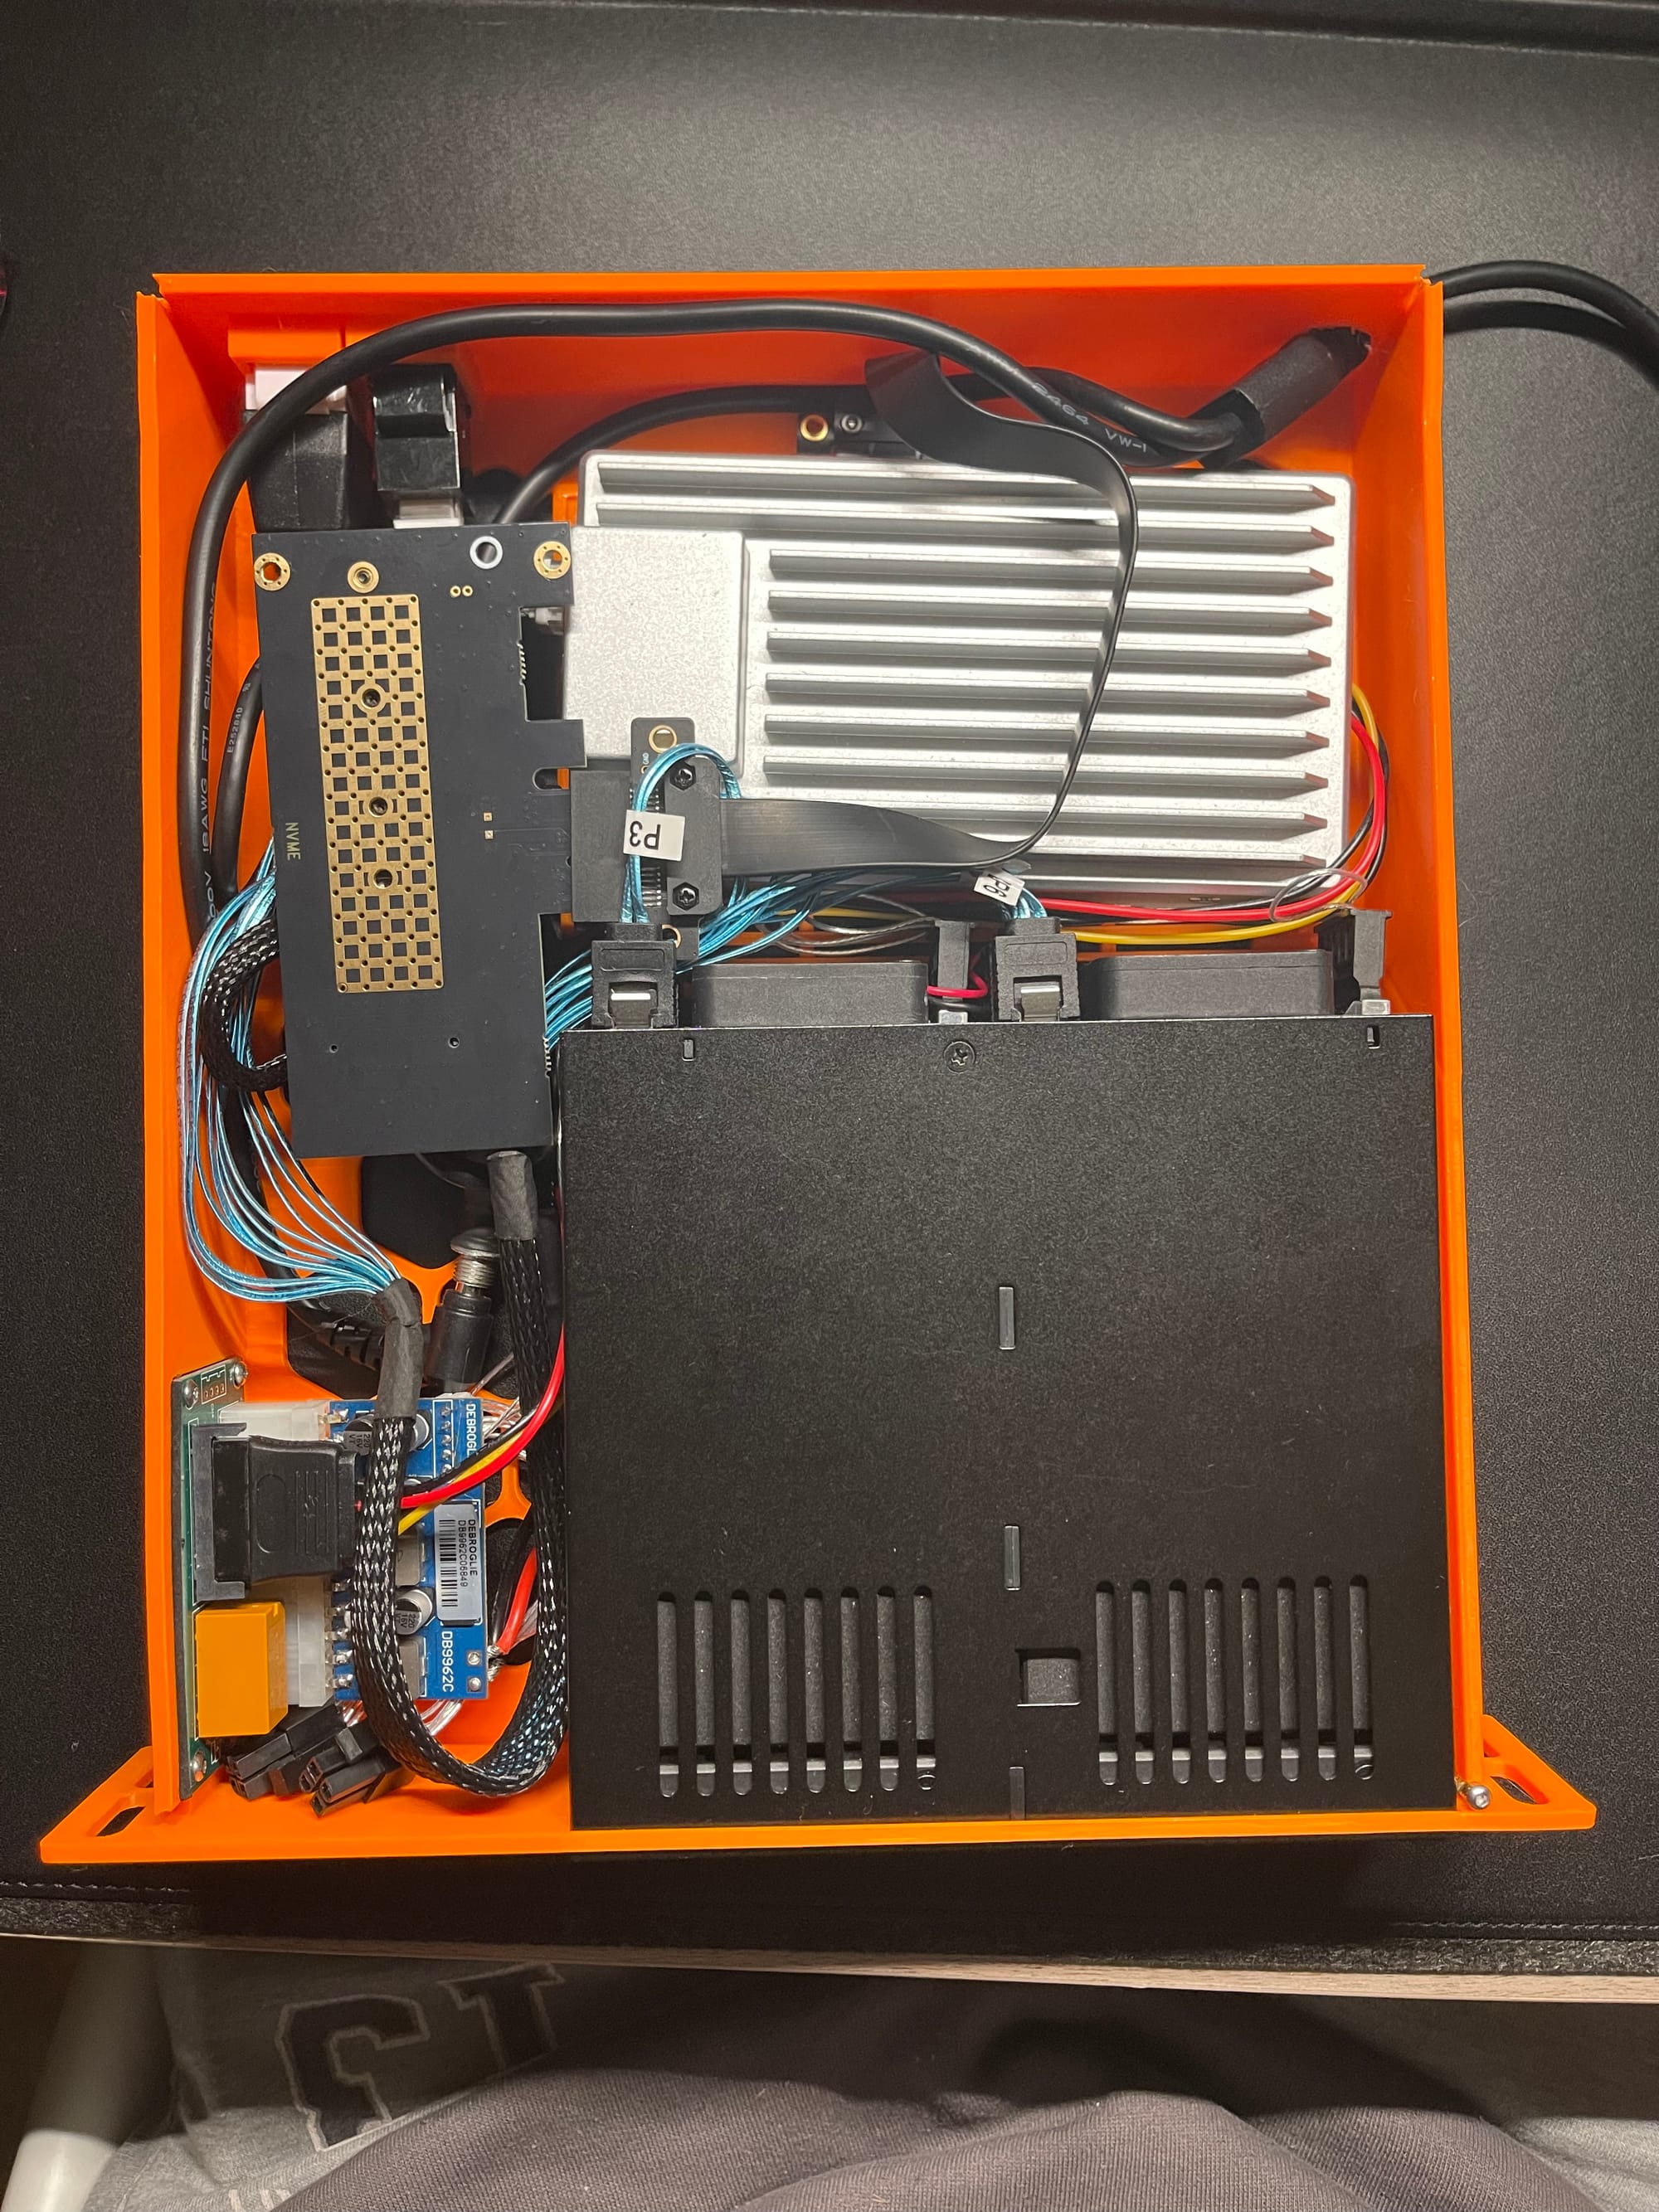
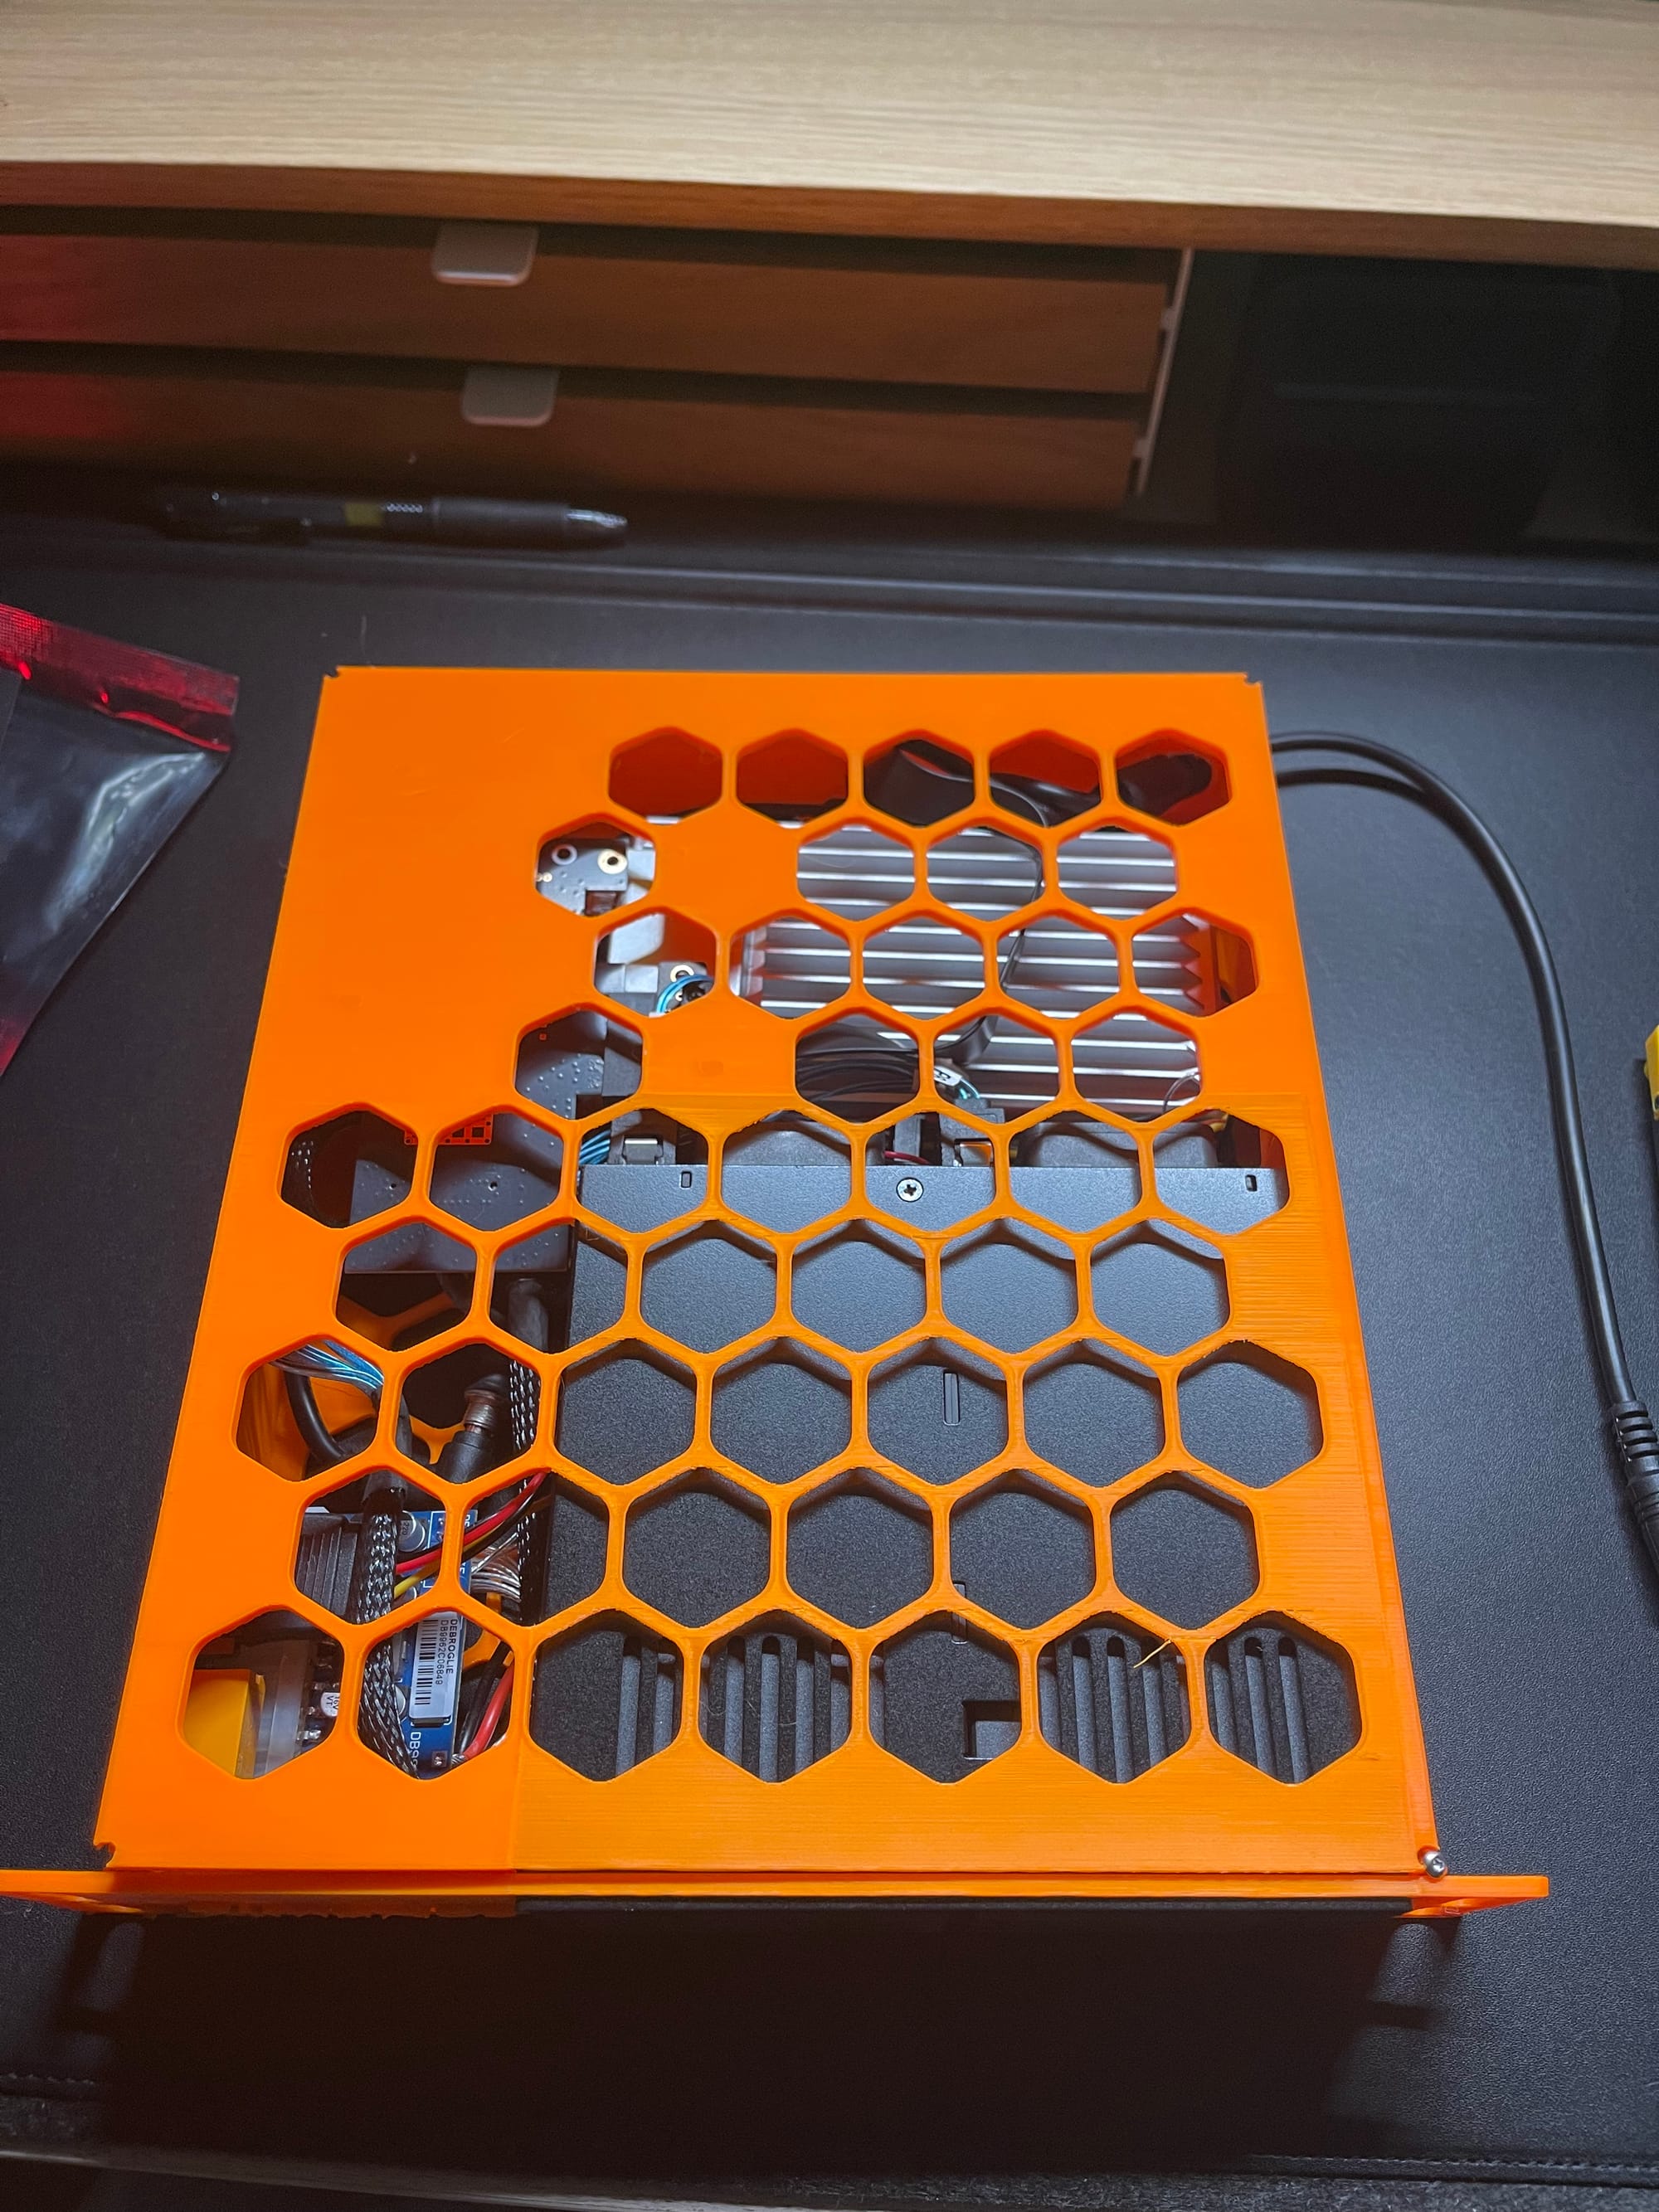
Enclosure assembled. You can see both where the enclosure has warped while printing in the top left corner and where I added some threaded inserts in the top corners to try and seal the lid down.
I printed the enclosure on my Bambulab A1 in PETG.
Heat-set inserts were used to cleanly mount the picoPSU/ADD2PSU combo. They also helped secure the lid because the print warped slightly near the end but this was optional. No soldering required.
Cooling
I didn't end up attaching the ZimaBoard fan primarily for noise reasons. However, air-cooling has been more than adequate in this implementation. If you plan to run heavier workloads, I recommend you attach the fan.
The drive cage has an inbuilt fan set to auto, and it remains cool to the touch.
Software
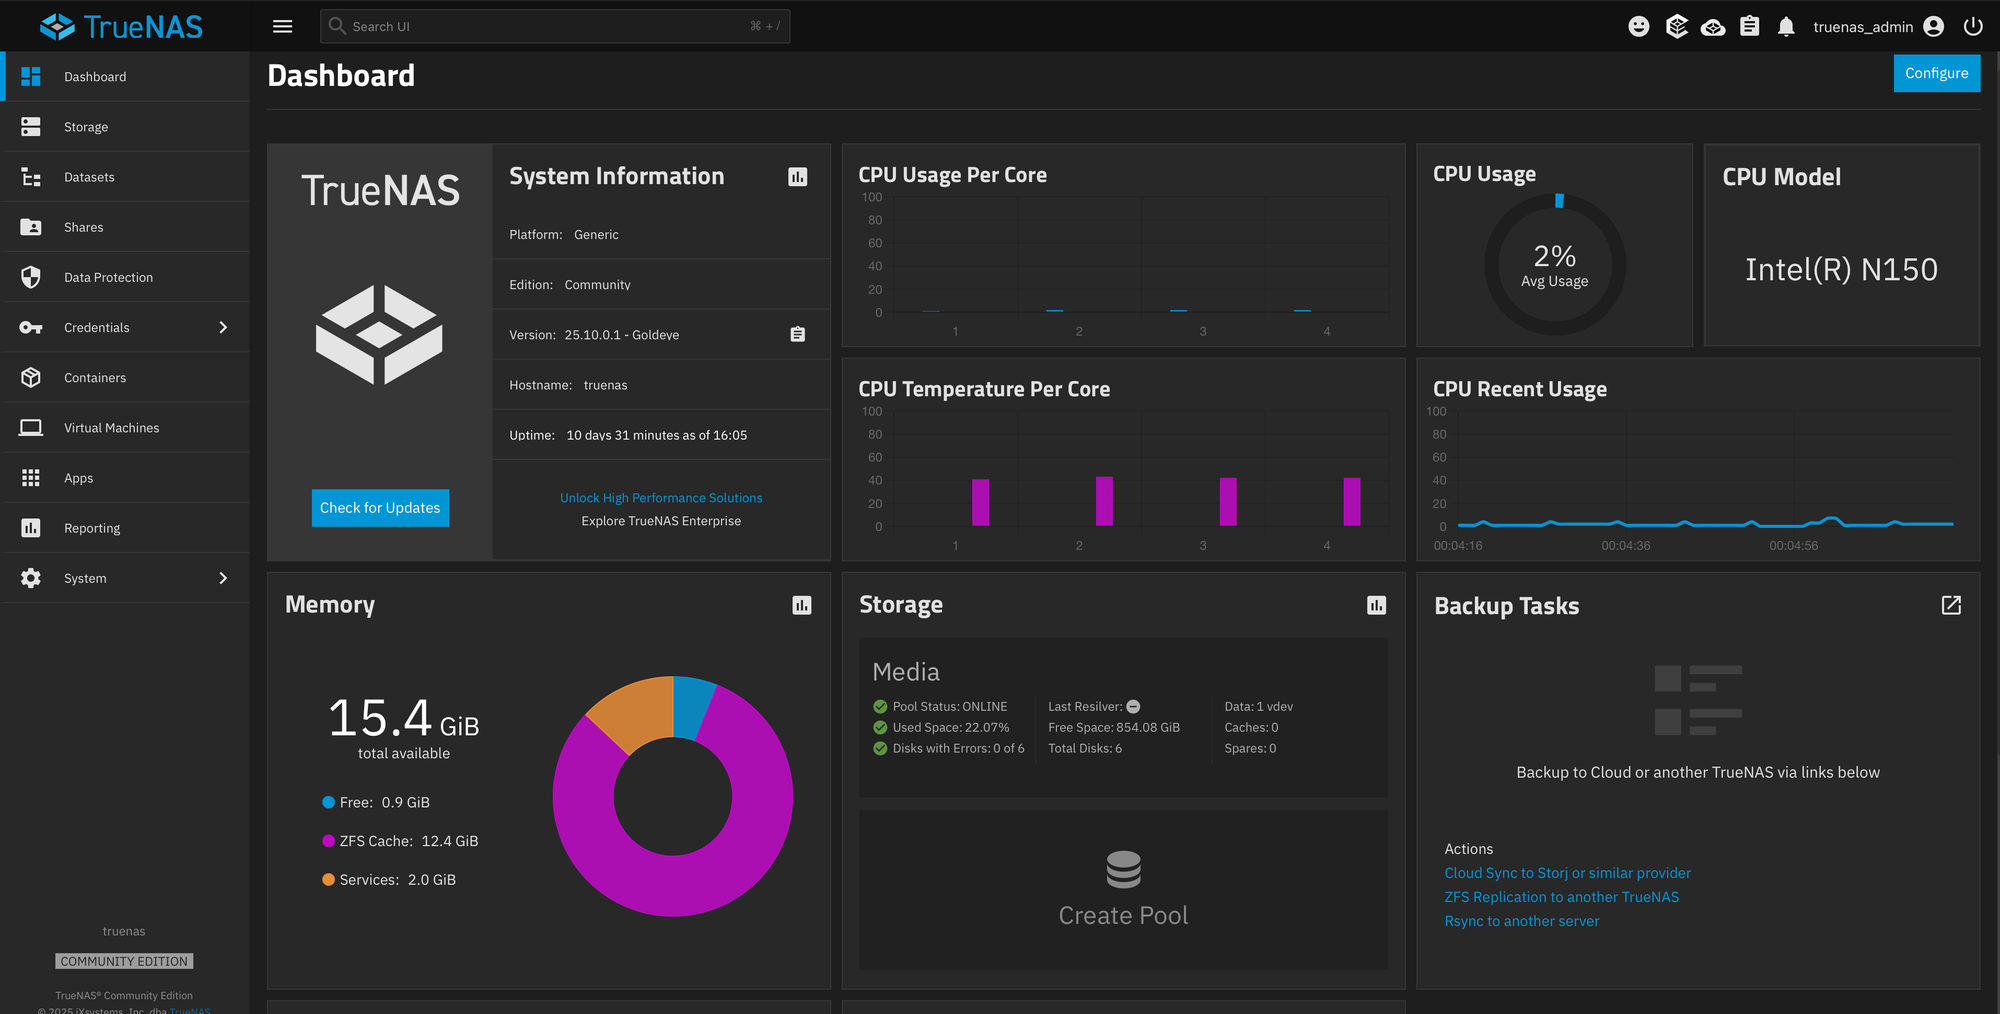
No issues with ZimaOS or TrueNAS
I initially tested the setup using ZimaOS but later changed this to TrueNAS. Both made raidZ1 pools with no issues. TrueNAS was always the intended end state hence the x86 constraint, but as ZimaOS continues to improve it will be worth revisiting it later.
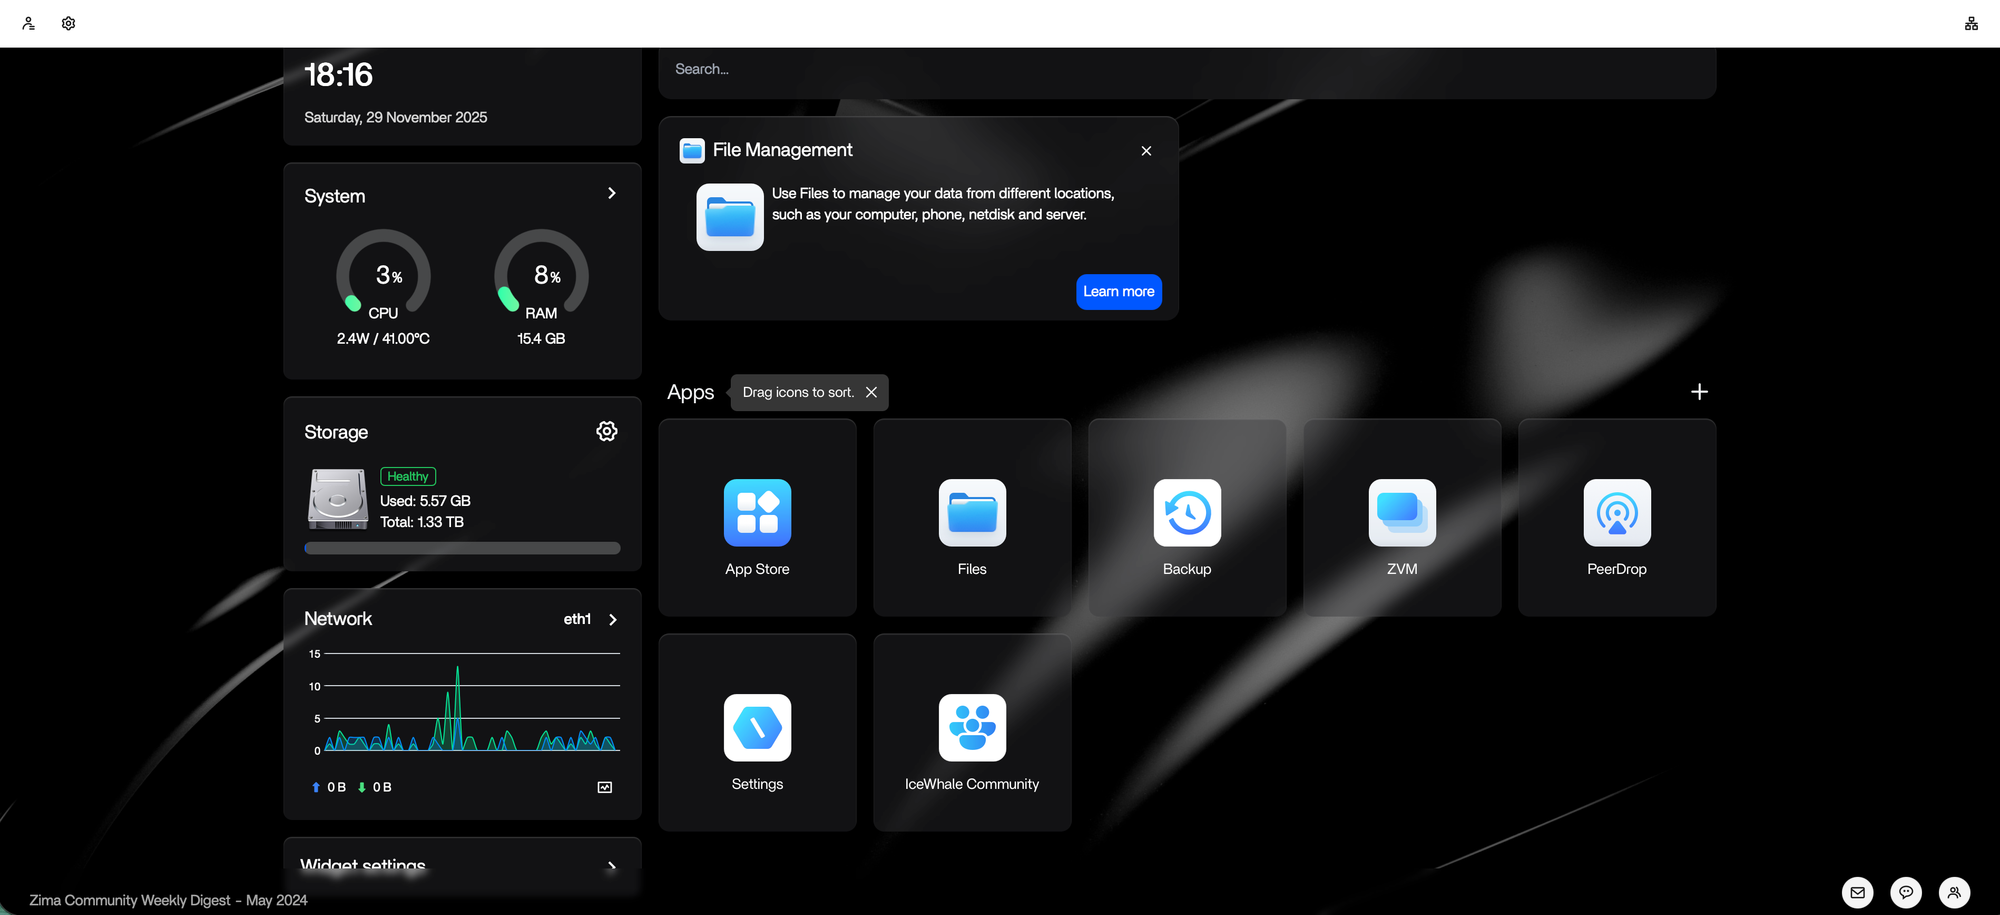
I currently use the TrueNAS homepage integration to monitor load and uptime. I have had no issues with either for the last few weeks and the core temp sits around 40 °C
A warning - Choose your OS and flash it before any assembly. It requires a keyboard, mouse and a display which is not reachable when fully assembled.
With my choice of OS installed, the build was complete. With all the hardware sorted, software was trivial.
Build List
Components
- ZimaBoard 2 (16 GB Variant)
- ICYDOCK 6-bay 2.5” drive cage (~146 mm depth)
- PicoPSU-style DC-ATX module (~160 W, unbranded clone)
- This needs to have the correct number of connectors for your drive cage, you may need a converter.
- ASM1166 based 6-port SATA controller in an M2 footprint
- M.2 NVMe → PCIe x4 adapter
- I had a lot of success with Glotrends
- PCIe riser cable
- Once again, a Glotrends riser is in the final build
- SATA cables (right-angled)
- 5.5 × 2.5 mm DC splitter
- ADD2PSU-style PSU trigger
- SATA Female to PH2.0 4-pin JST cable
- 2× keystone jacks
Tools
- 3D printer
- heat-set insert kit (optional)
- screwdrivers
Miscellaneous
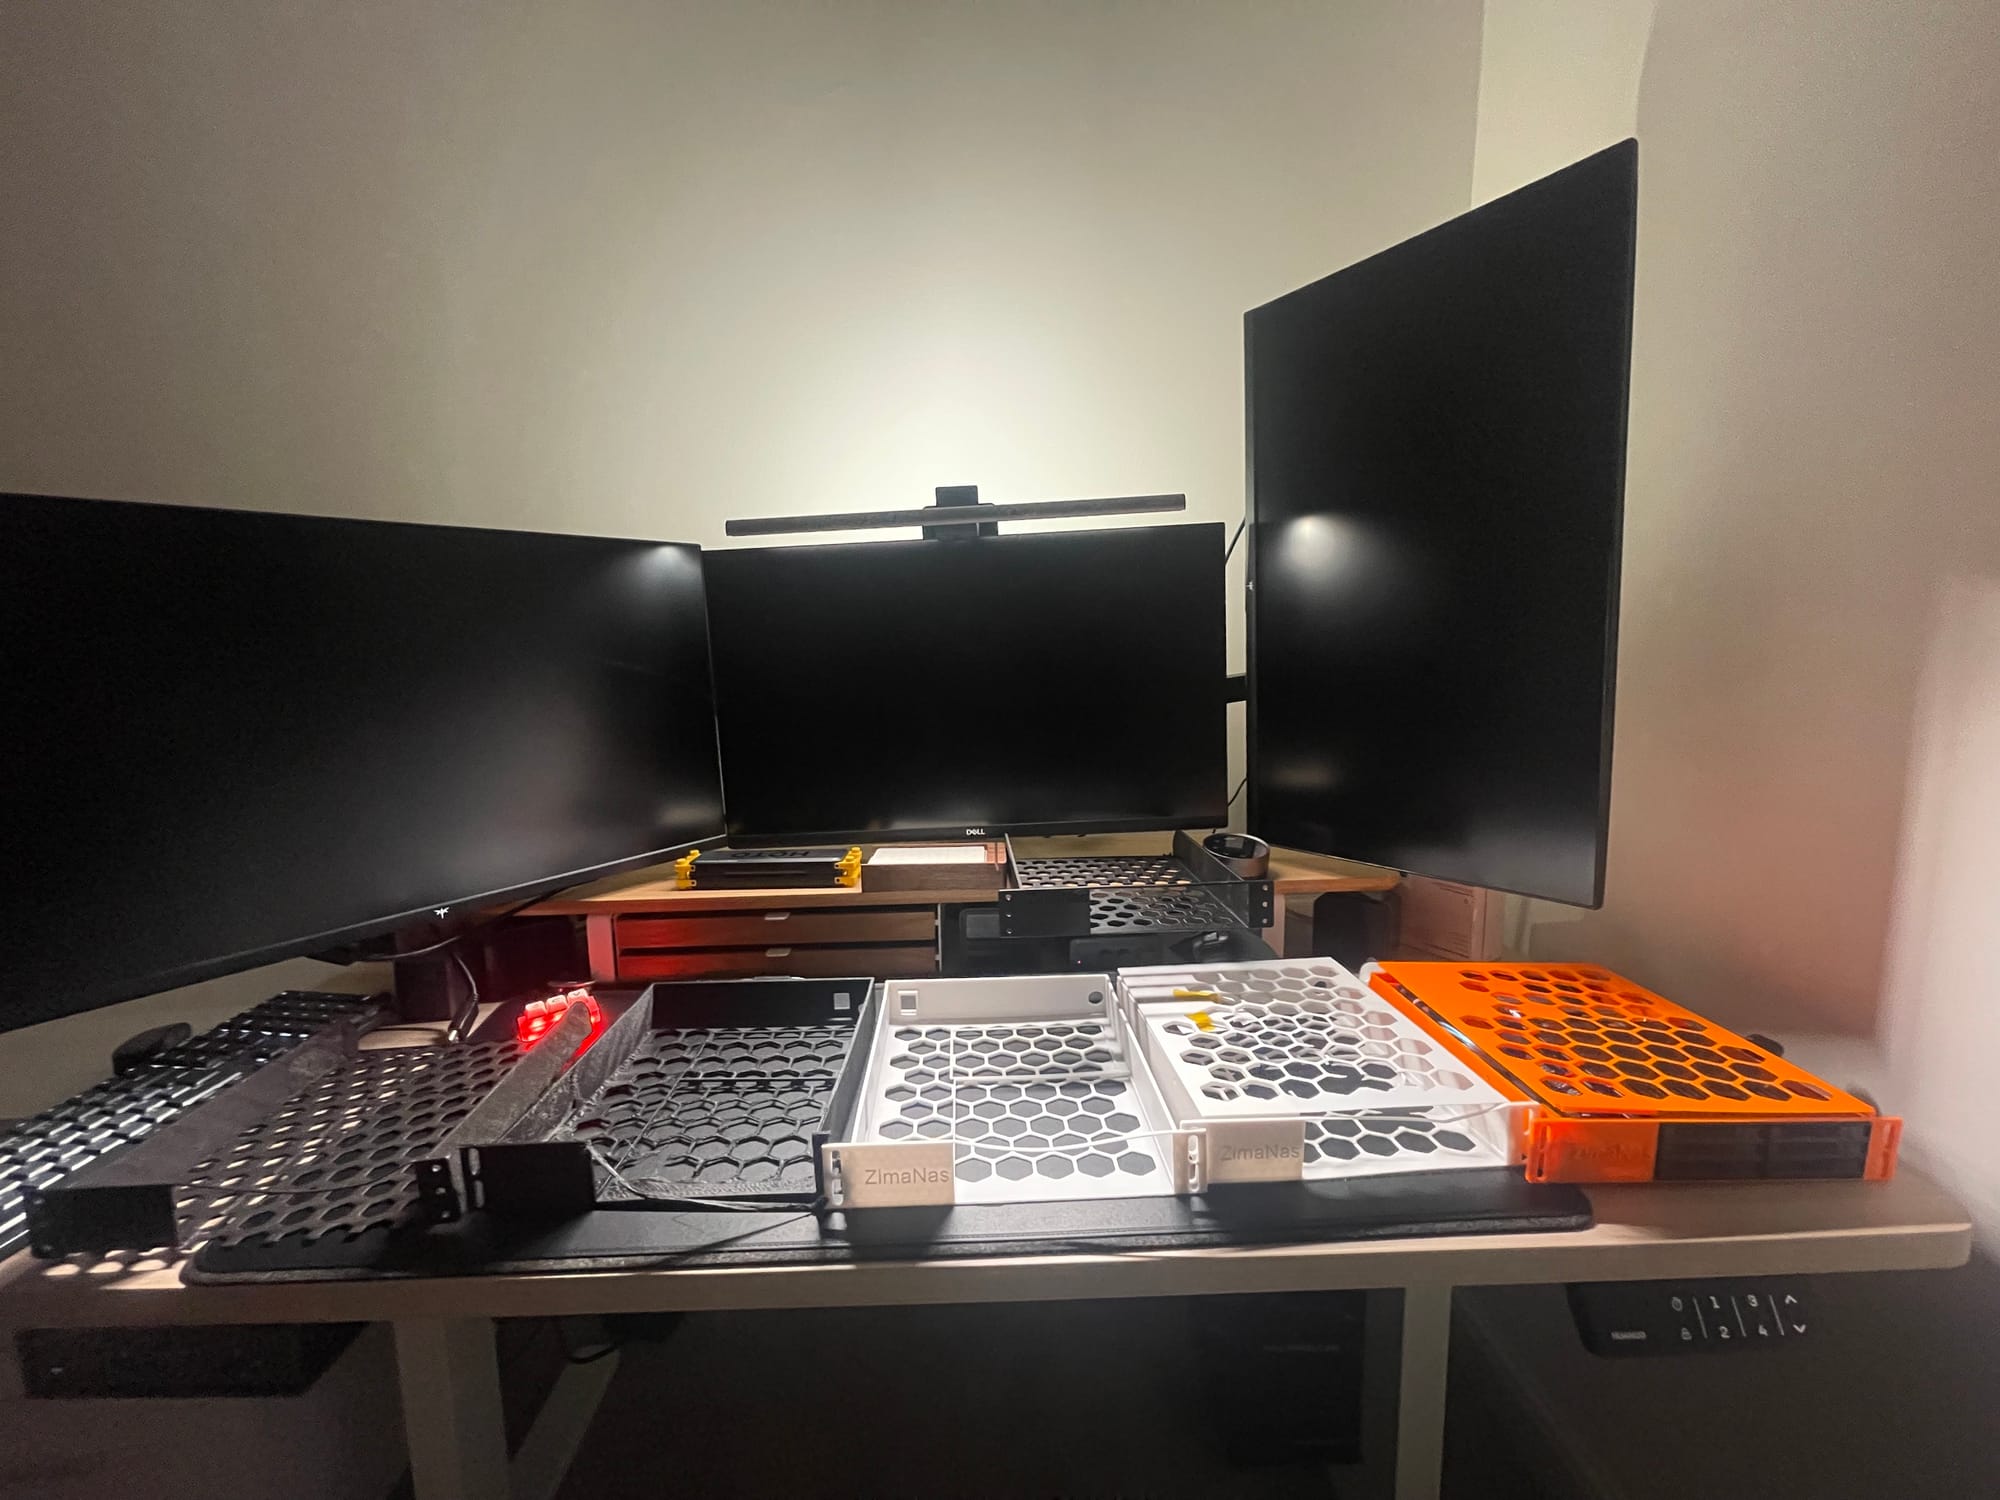
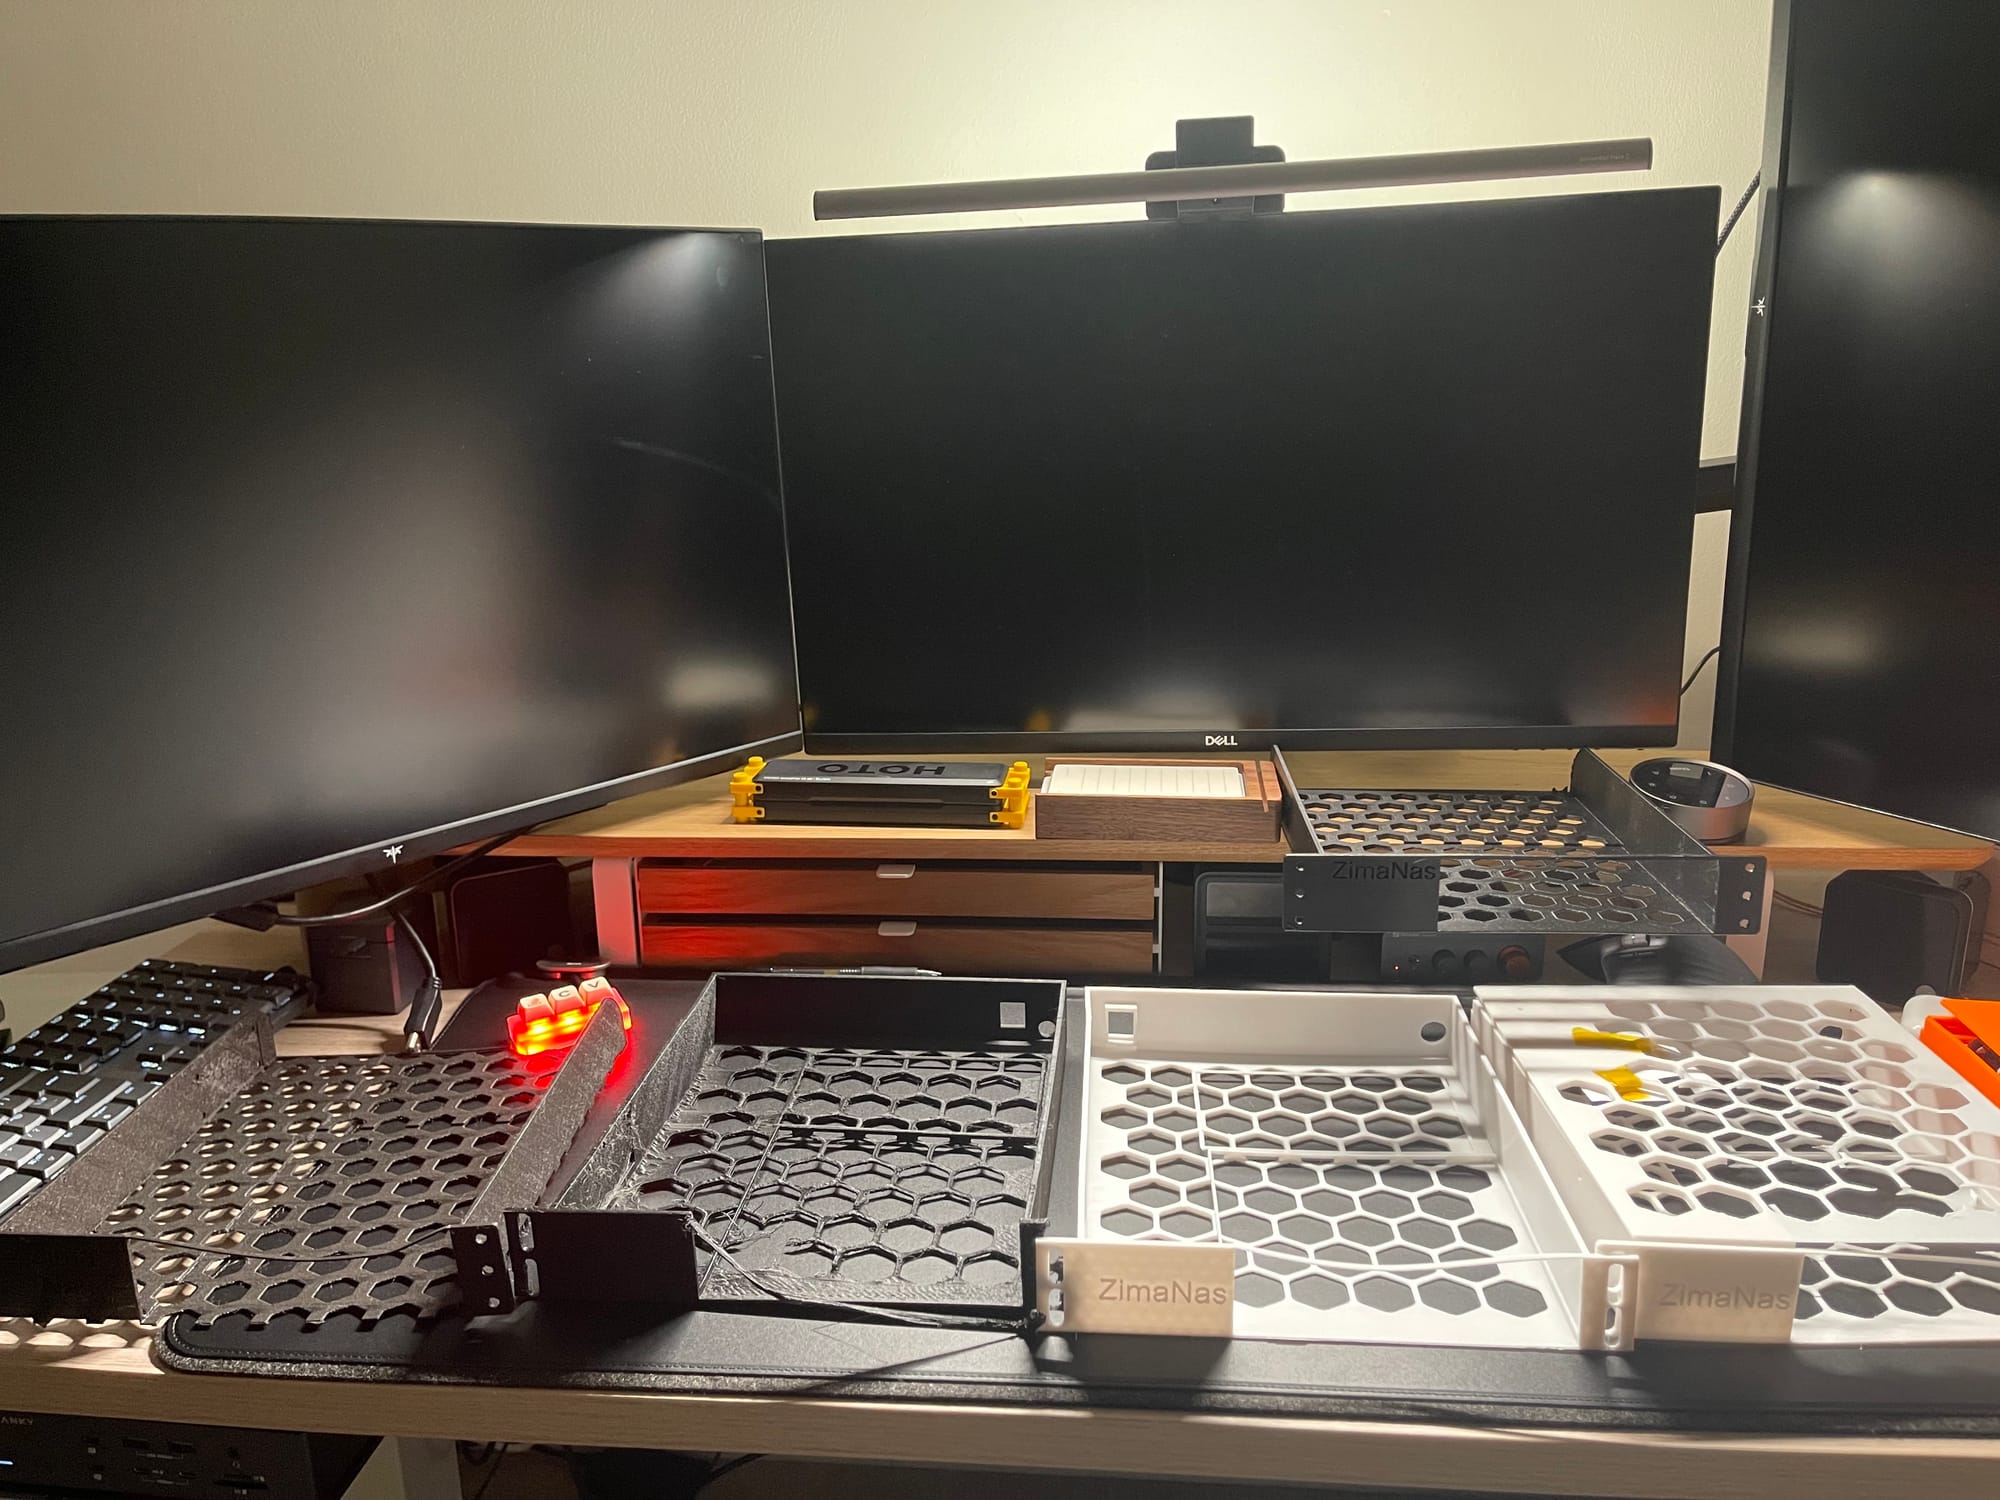
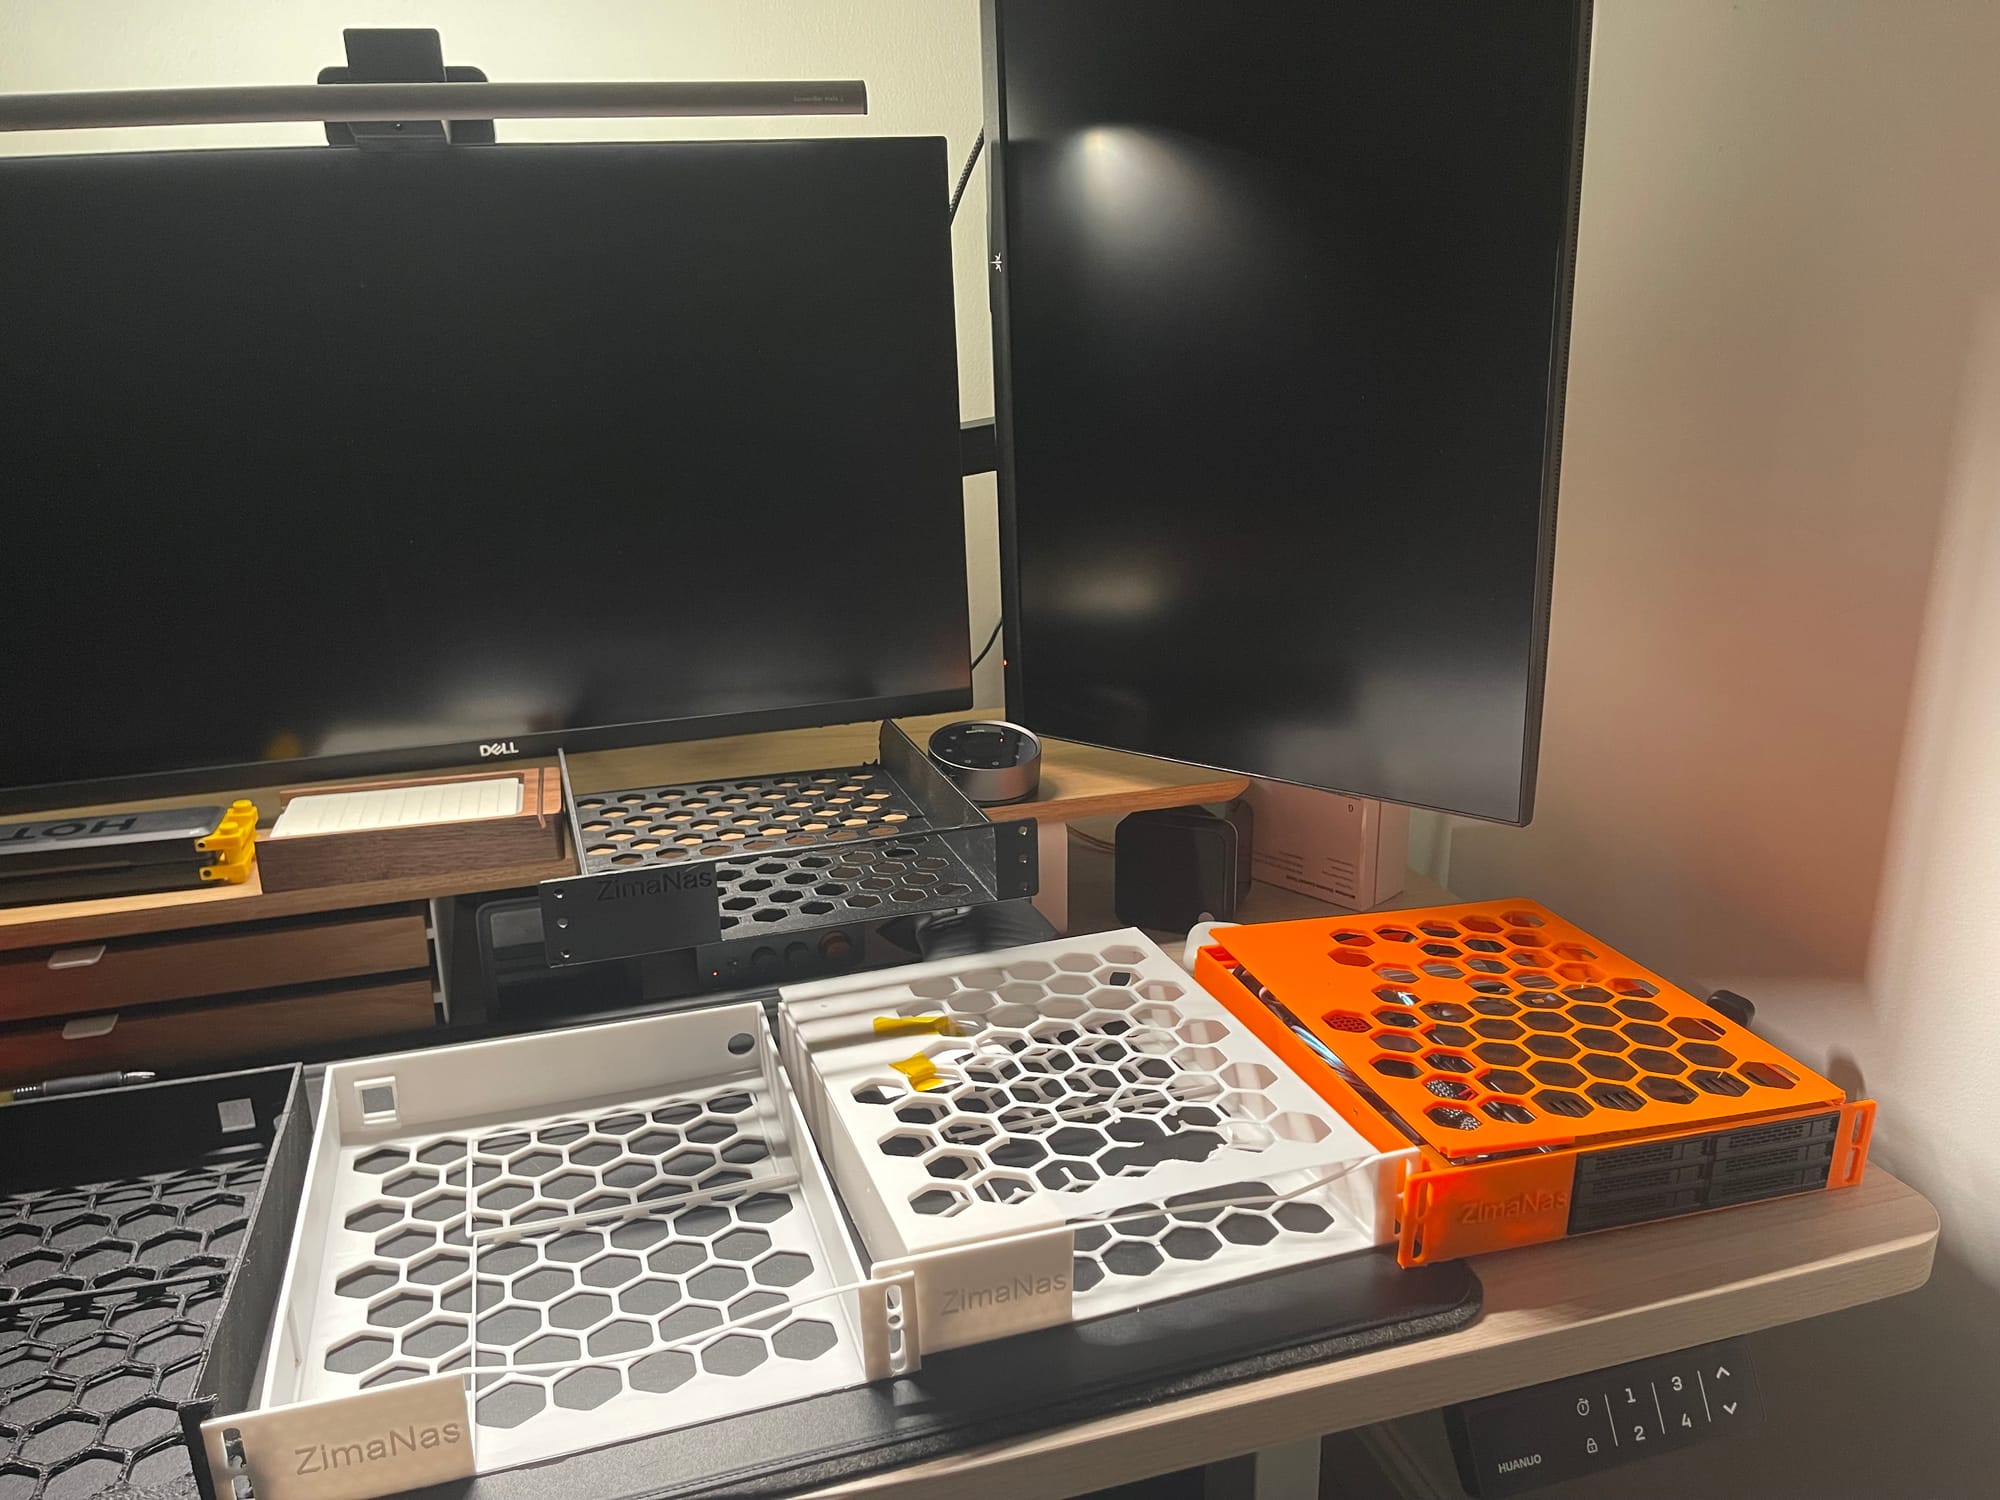
Miscellaneous build photos, I used A LOT of filament on this. You can see where I switched from using a USB keystone to just have 2x Ethernet keystones in the final build.
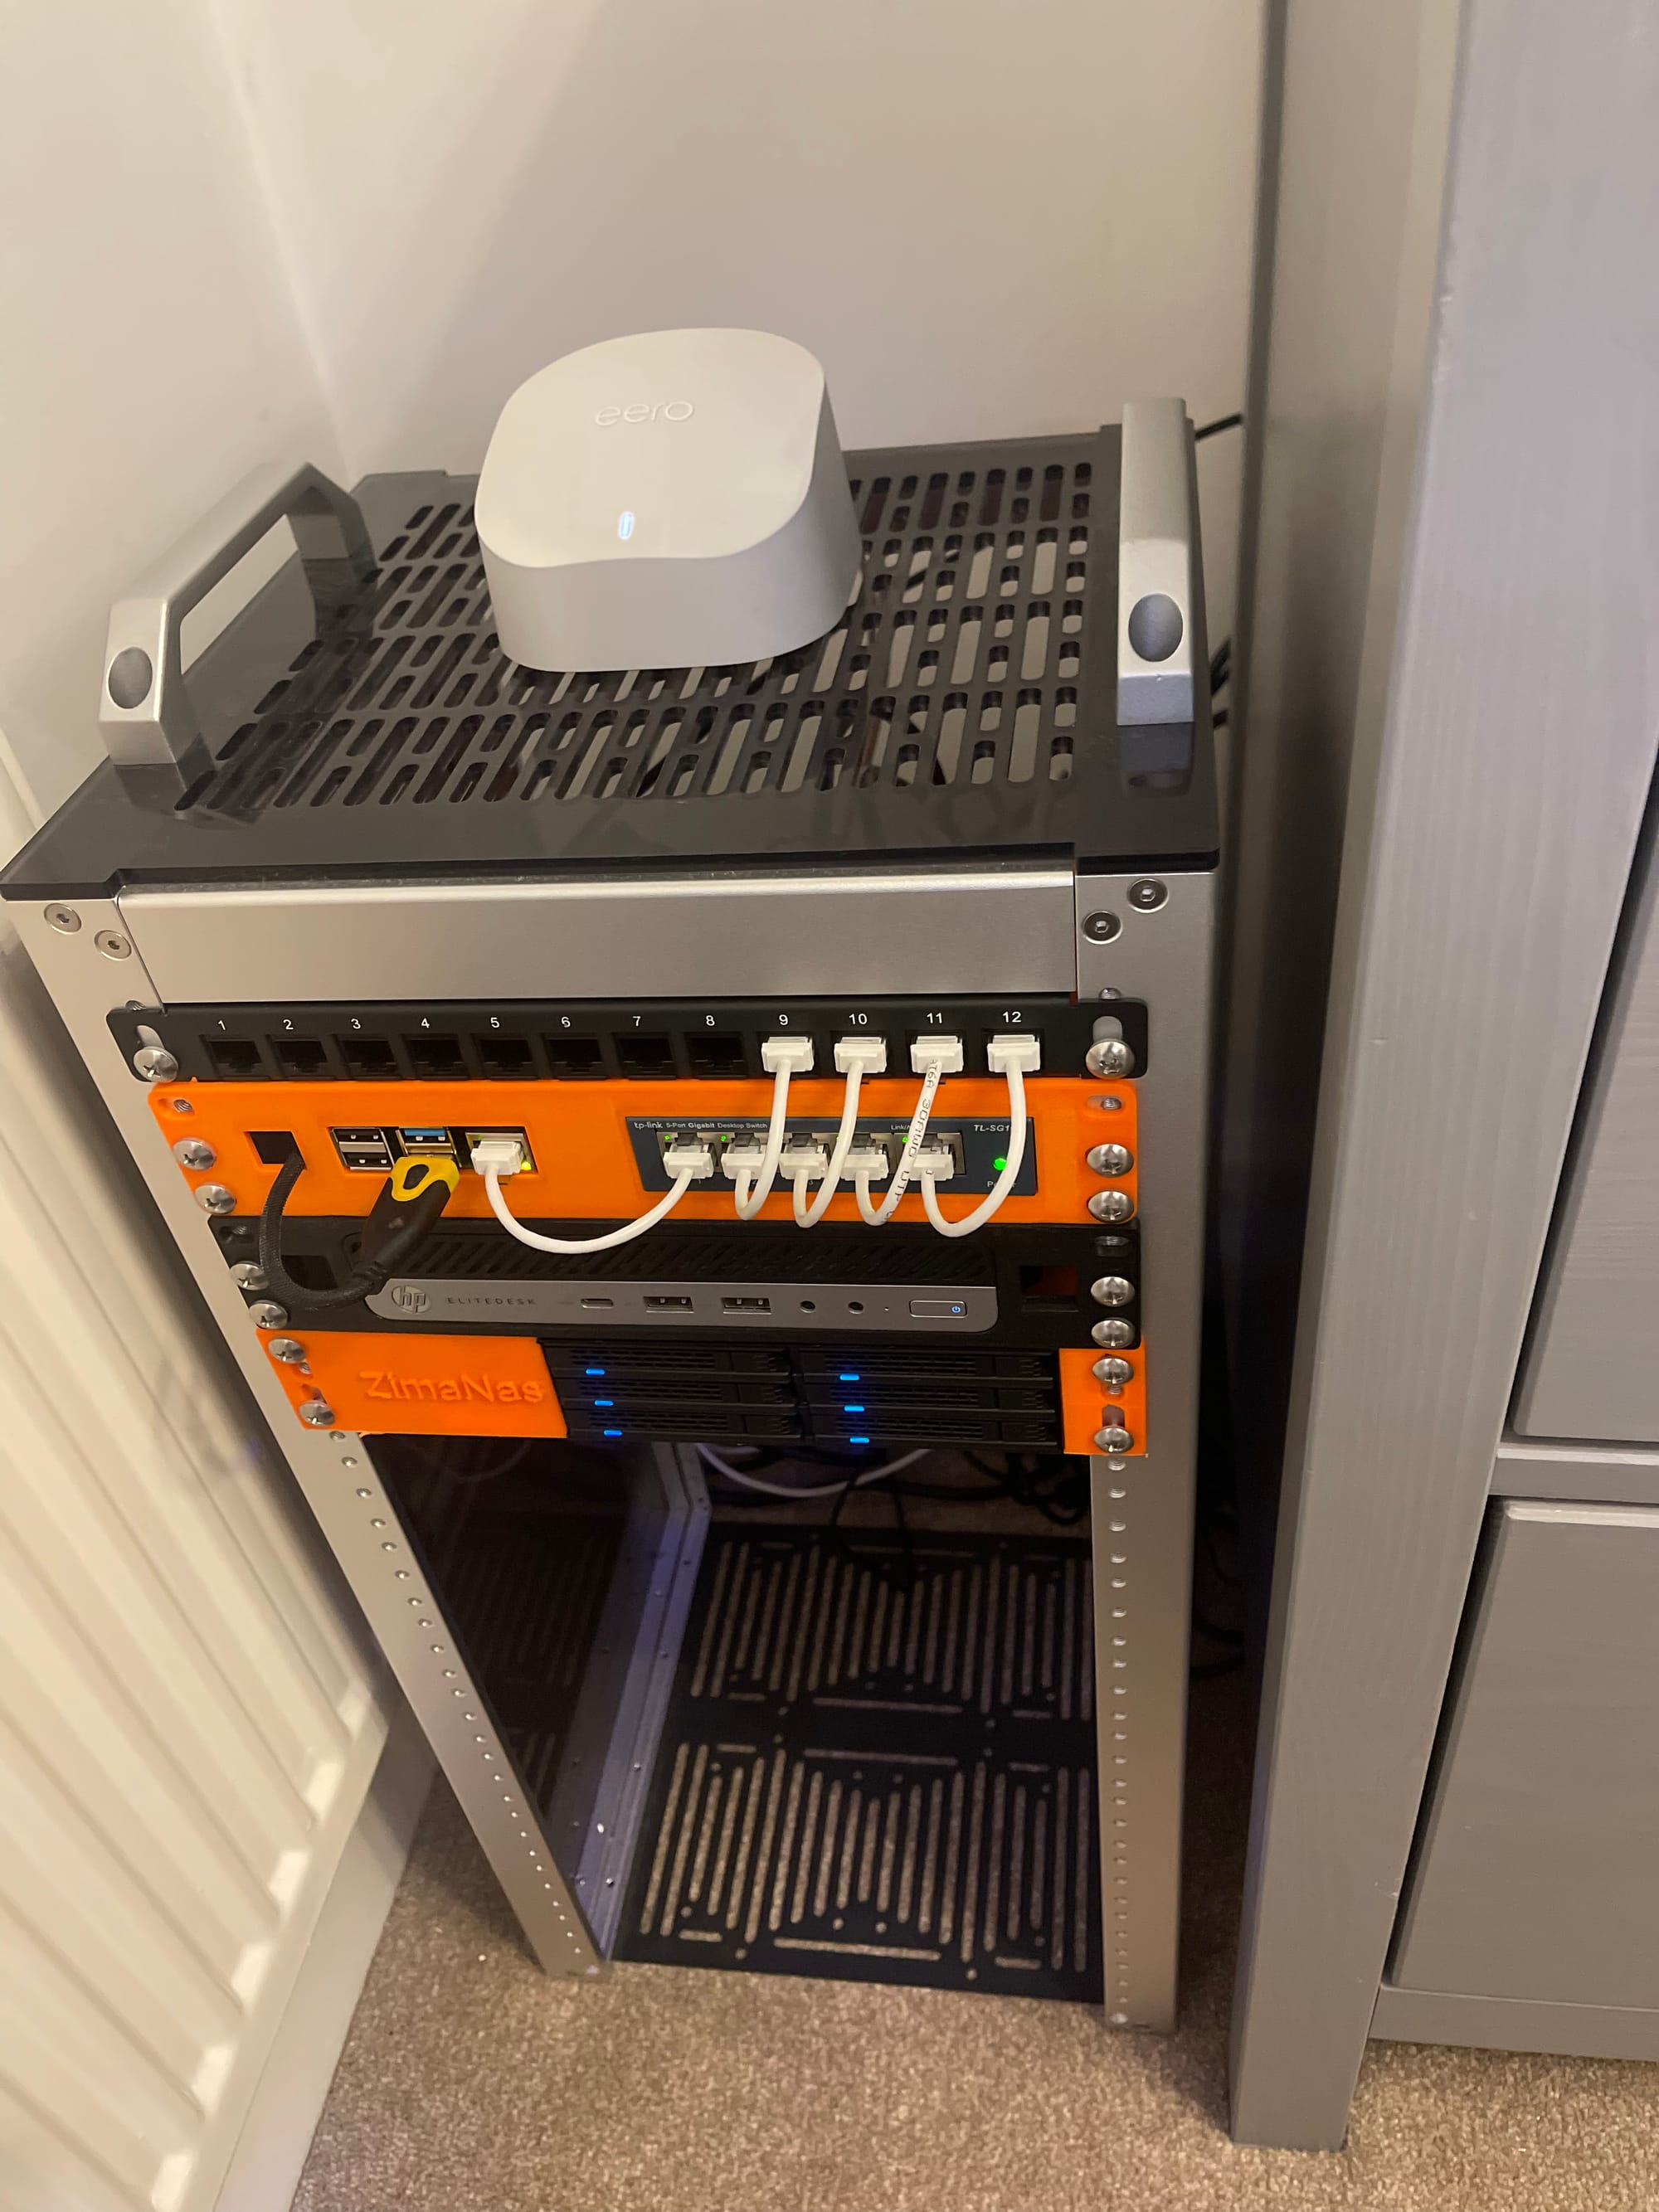
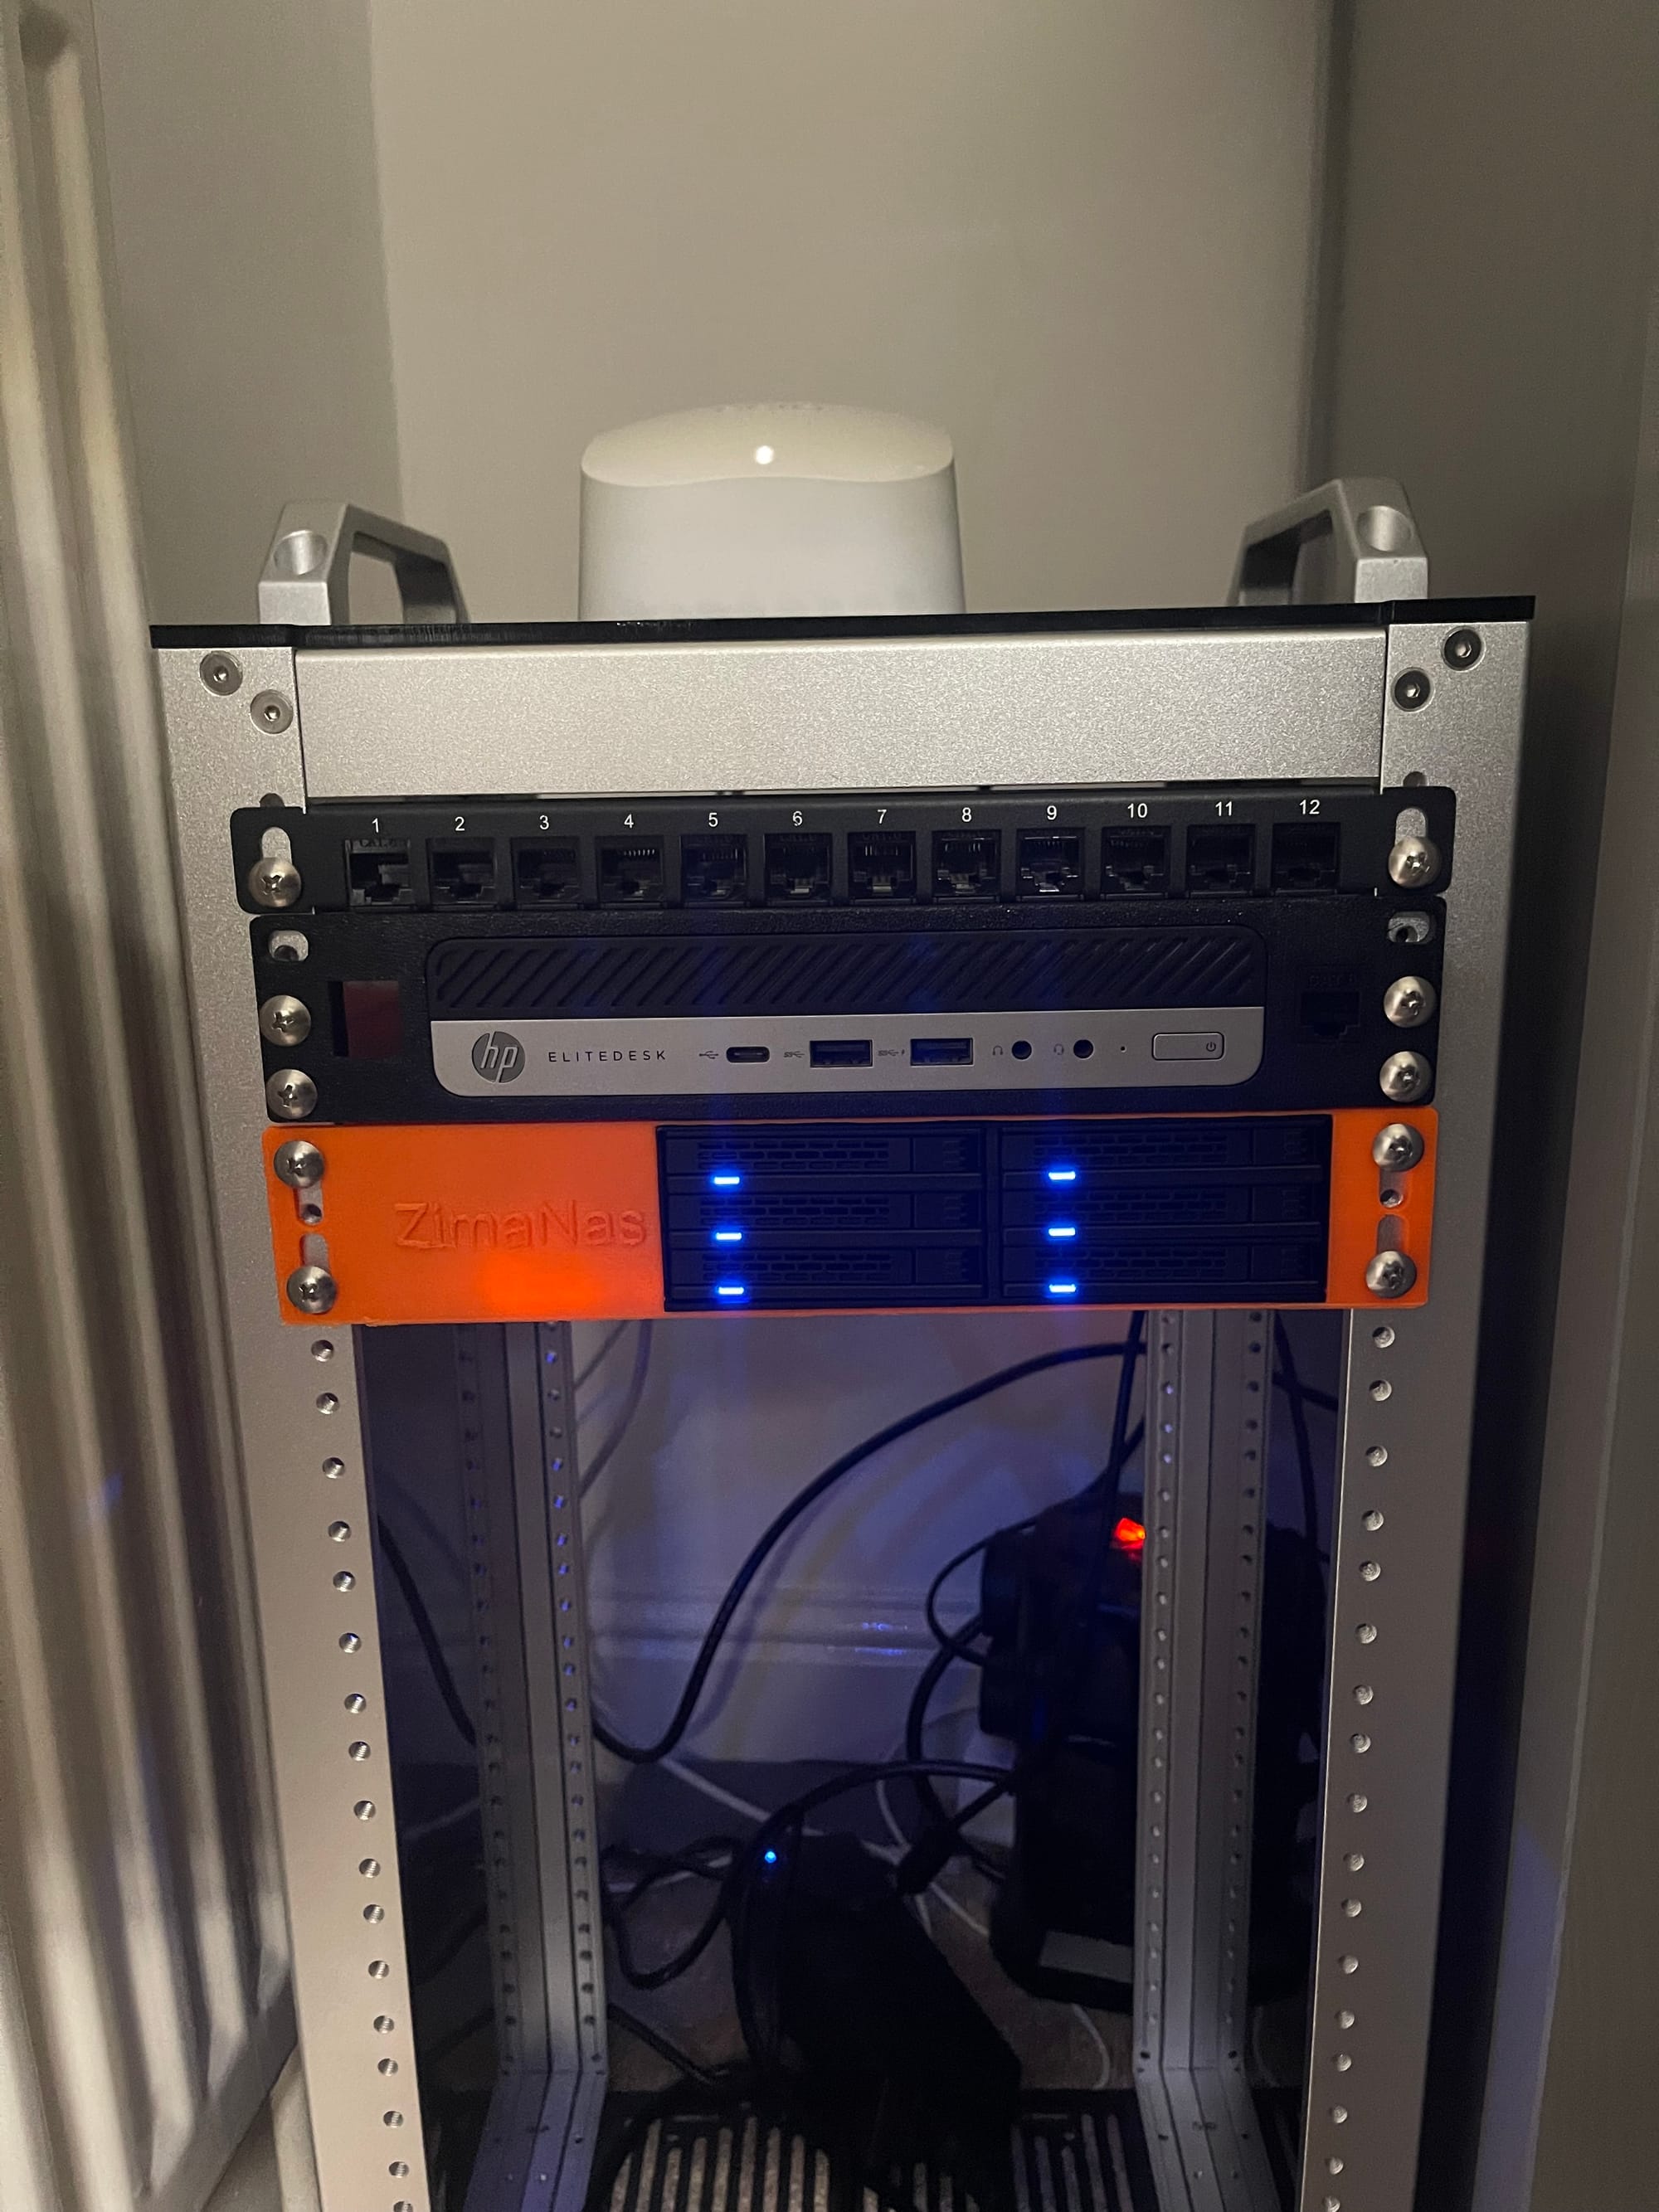
Outcome
The result is a compact, quiet, low-power 6-SSD NAS that fits entirely within 1U of a 10-inch rack.
Single-brick power, clean boot synchronisation, no stability issues so far. This is v1, and I’ll refine it as I migrate to larger SSDs.
Authors note: outside of the day on which I post an article to reddit, I have the website completely blocked apart from the minute afforded by the iOS screen time implementation. The comments are the best way to reach me!